WordPress Integration
The Thinkstack Chatbot plugin allows you to easily integrate a conversational AI assistant directly into your WordPress website. This can be a great way to provide customer support, answer frequently asked questions, and improve the overall user experience on your site.
There are two methods for adding the Thinkstack plugin to your WordPress site:
Uploading the Plugin Files Directly#
Download the Thinkstack plugin files. You can find the latest version of the plugin on the WordPress plugin repository: https://wordpress.org/plugins/thinkstack/
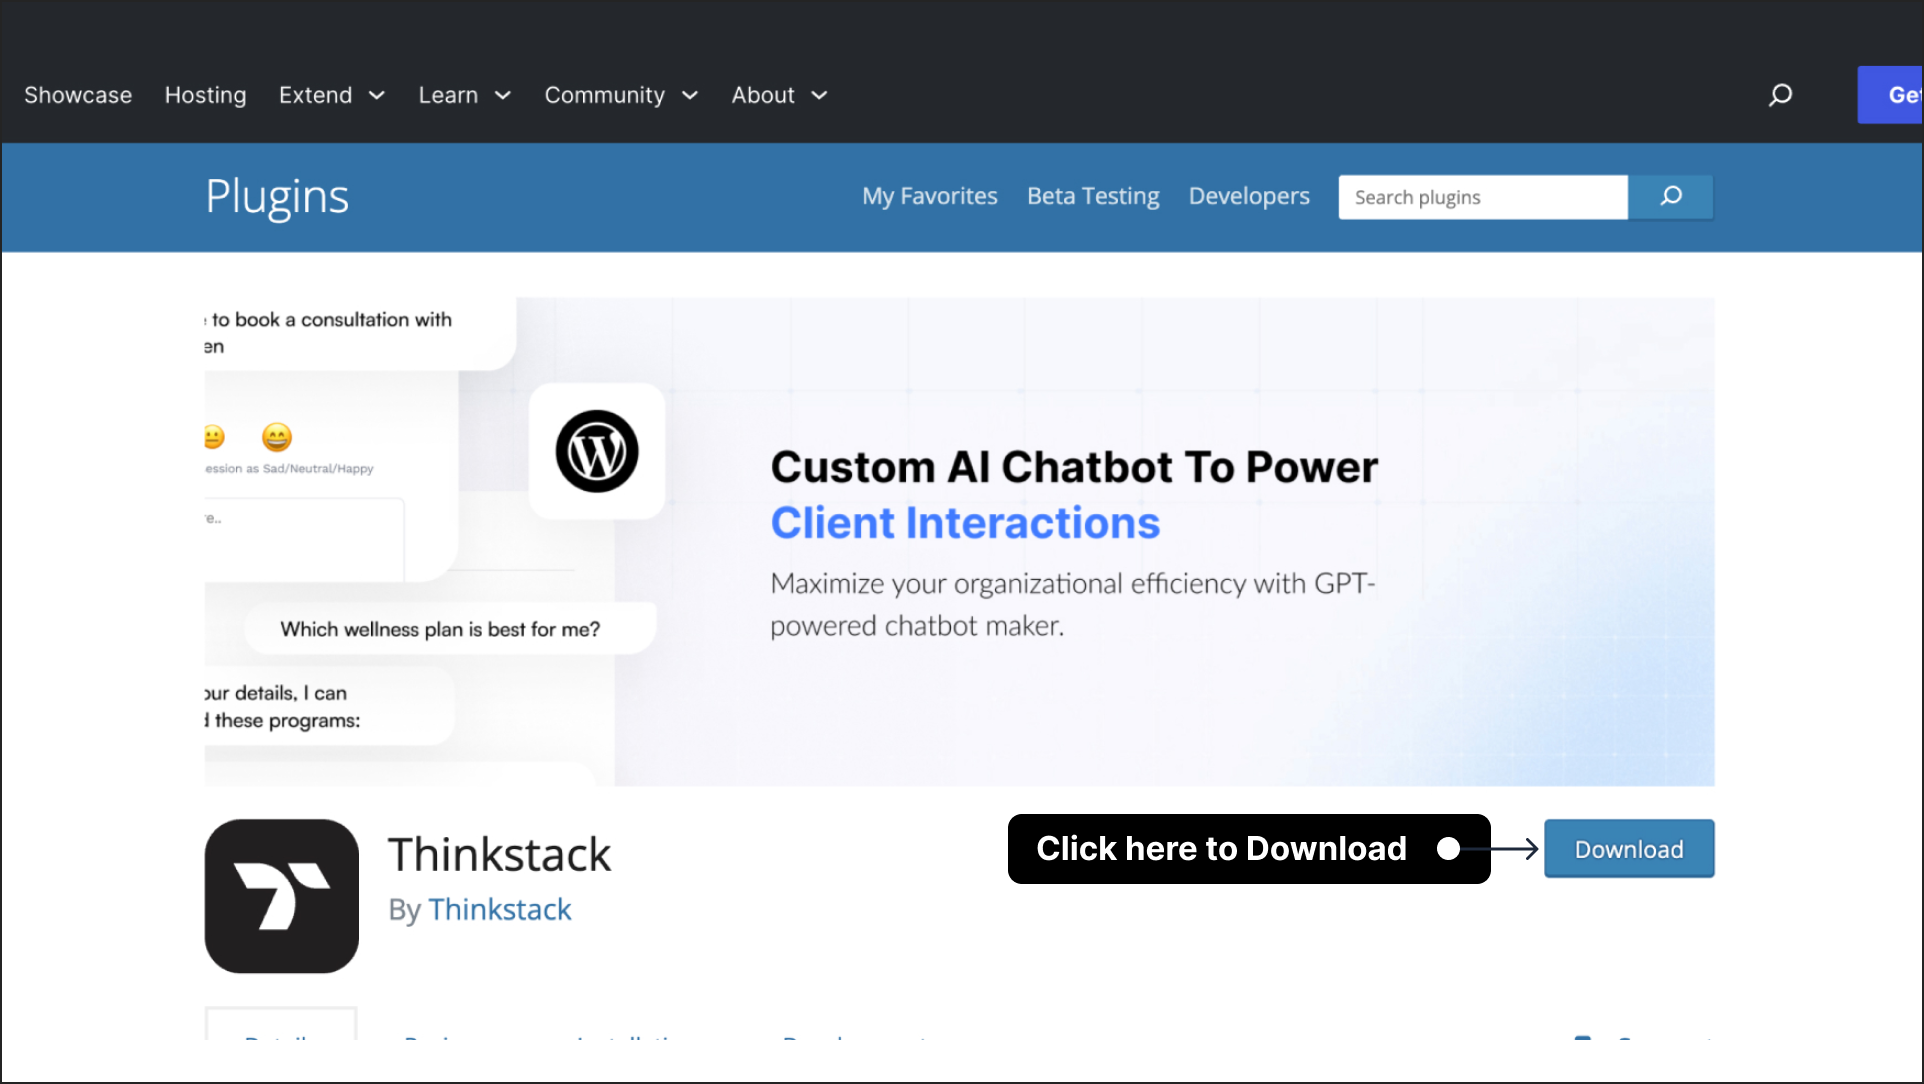
Upload the downloaded files to the /wp-content/plugins/thinkstack/ directory on your WordPress server.
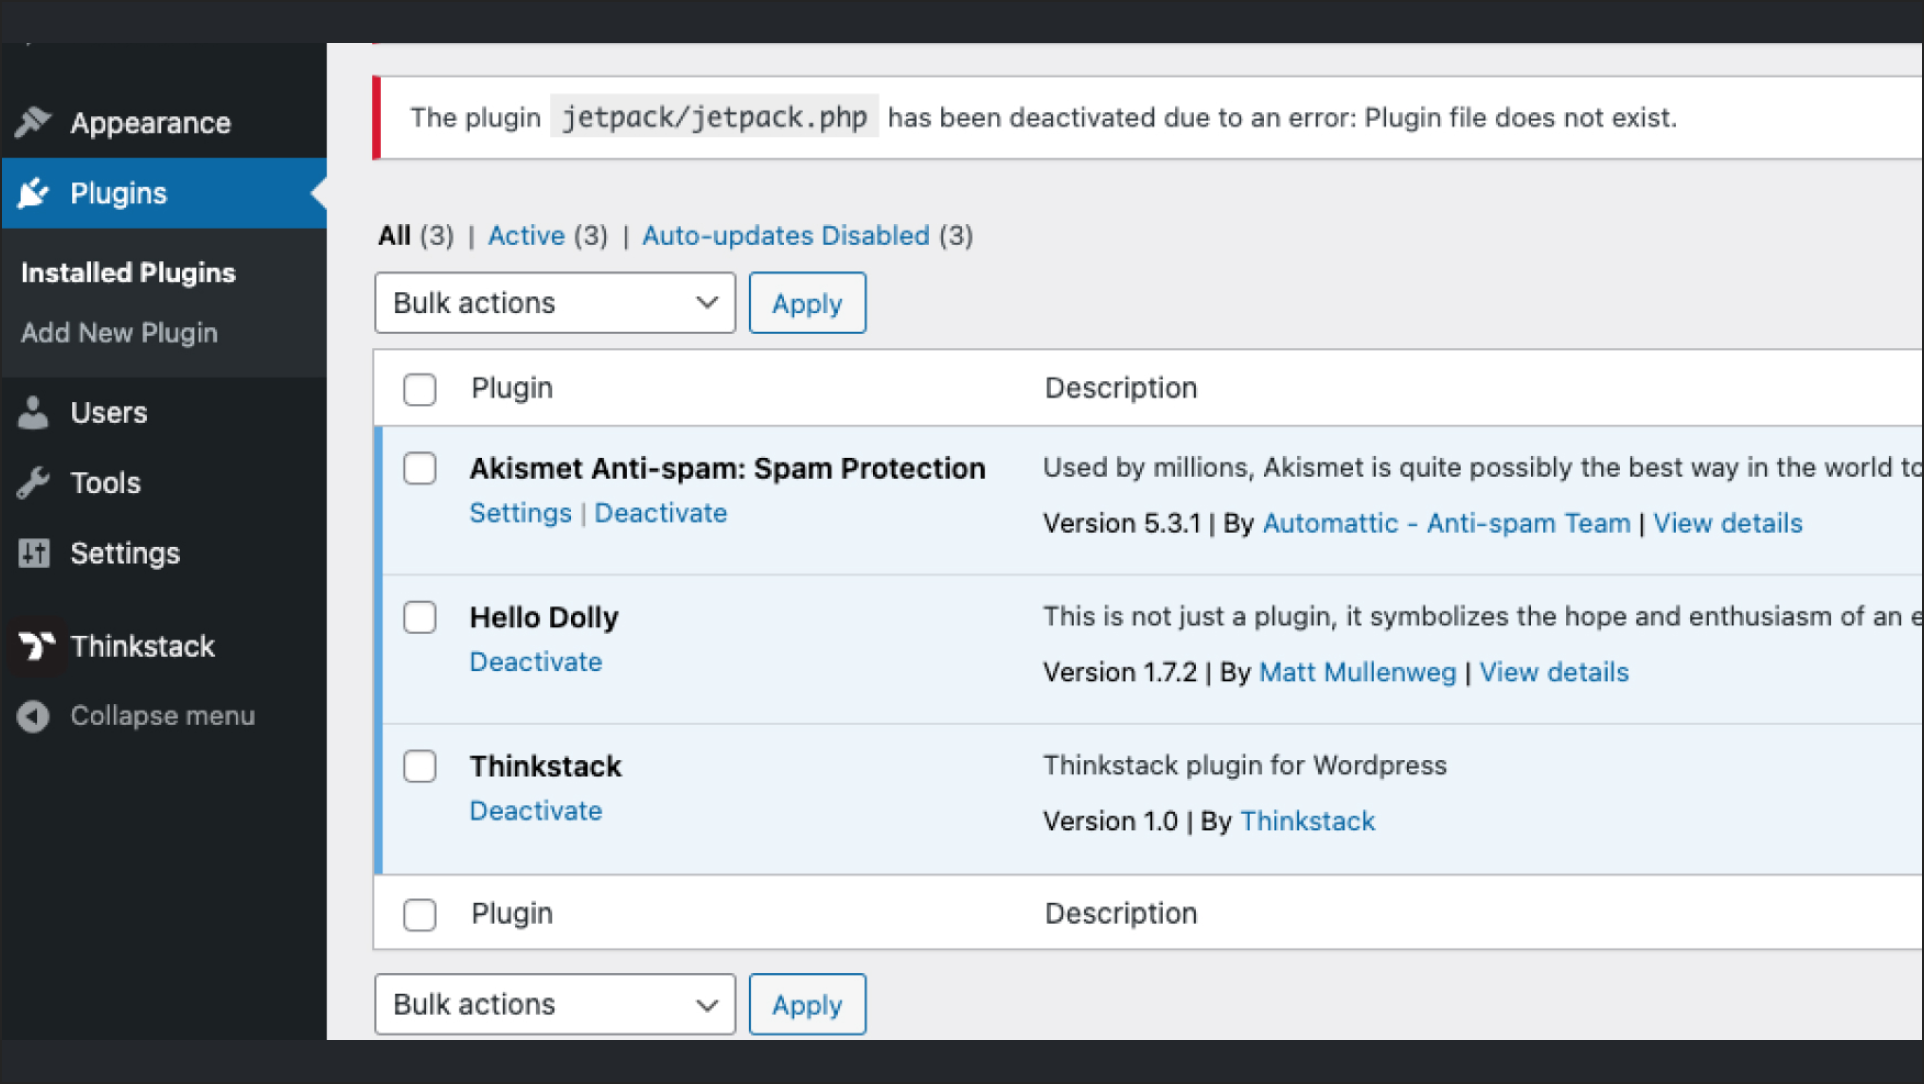
Once the files have been uploaded, log in to your WordPress dashboard.
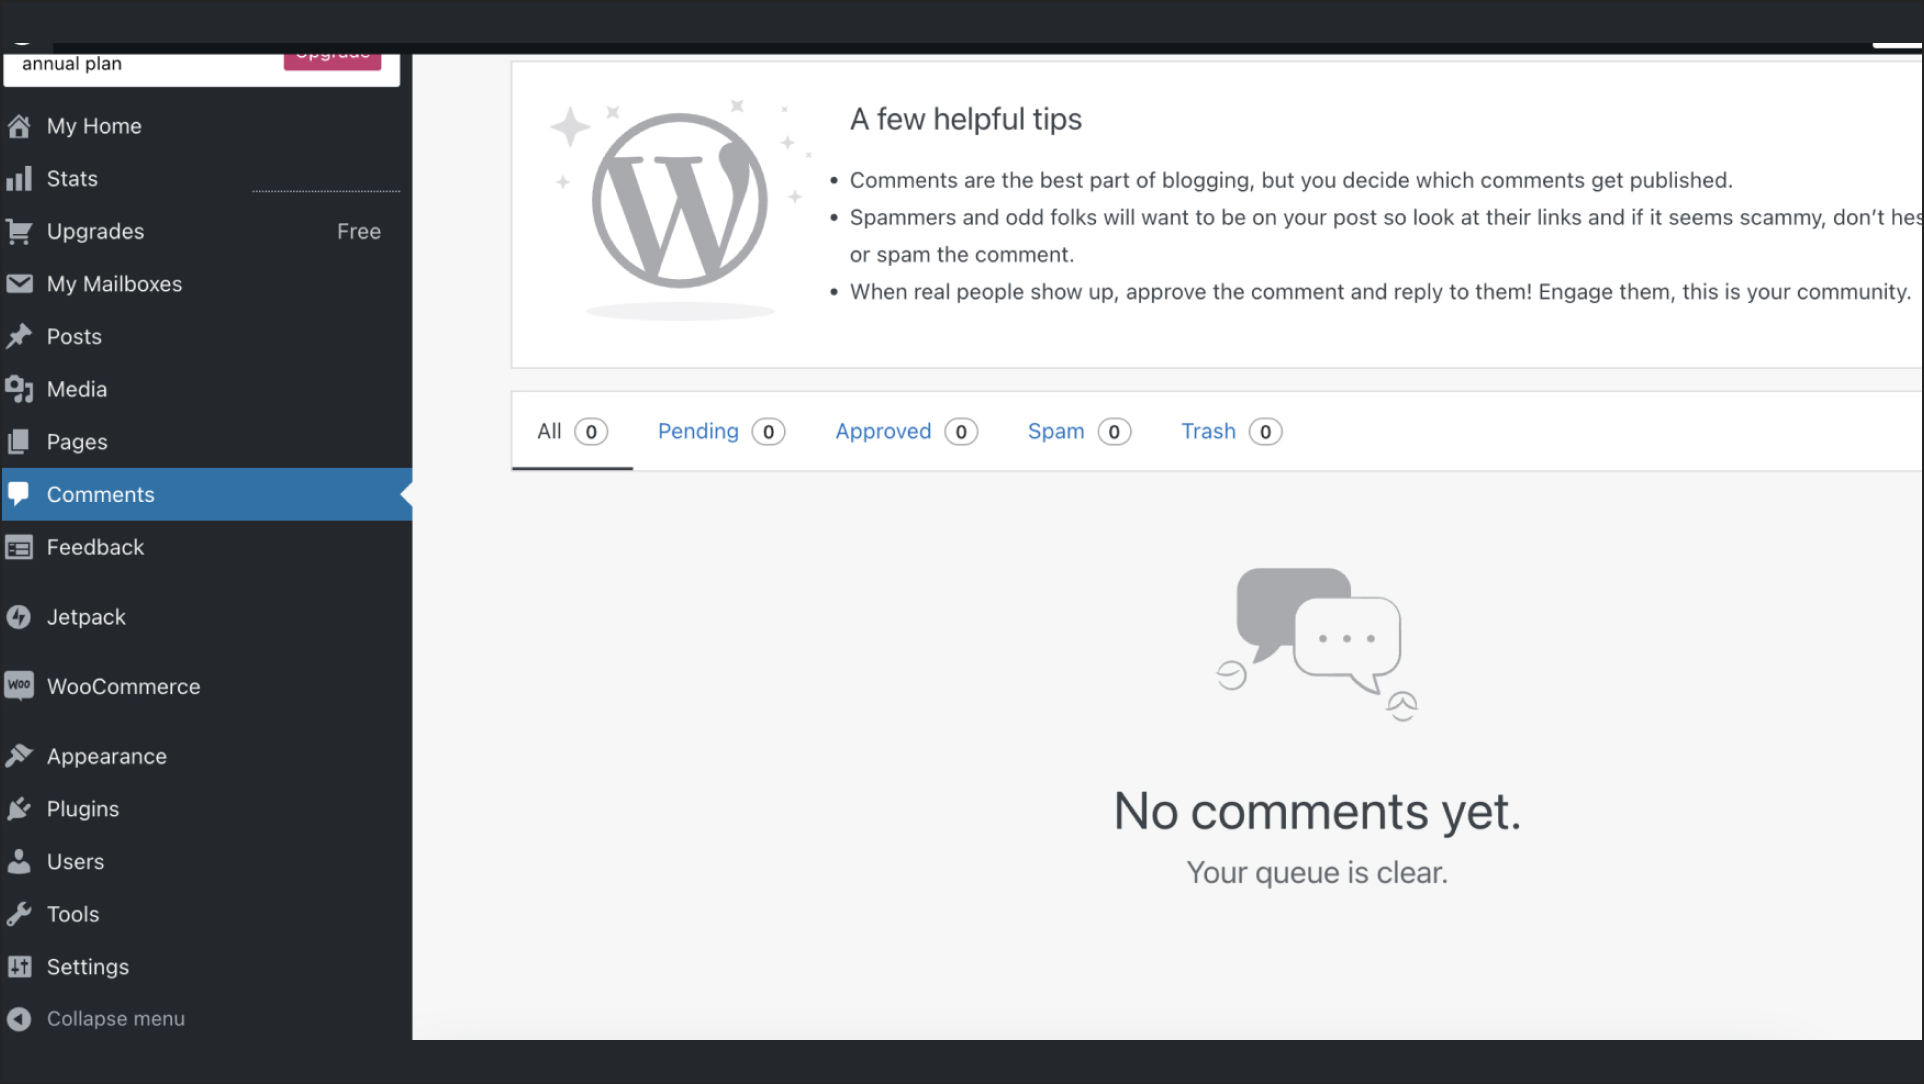
Navigate to the Plugins menu and click on Installed Plugins.
You should now see the Thinkstack plugin listed among your installed plugins.
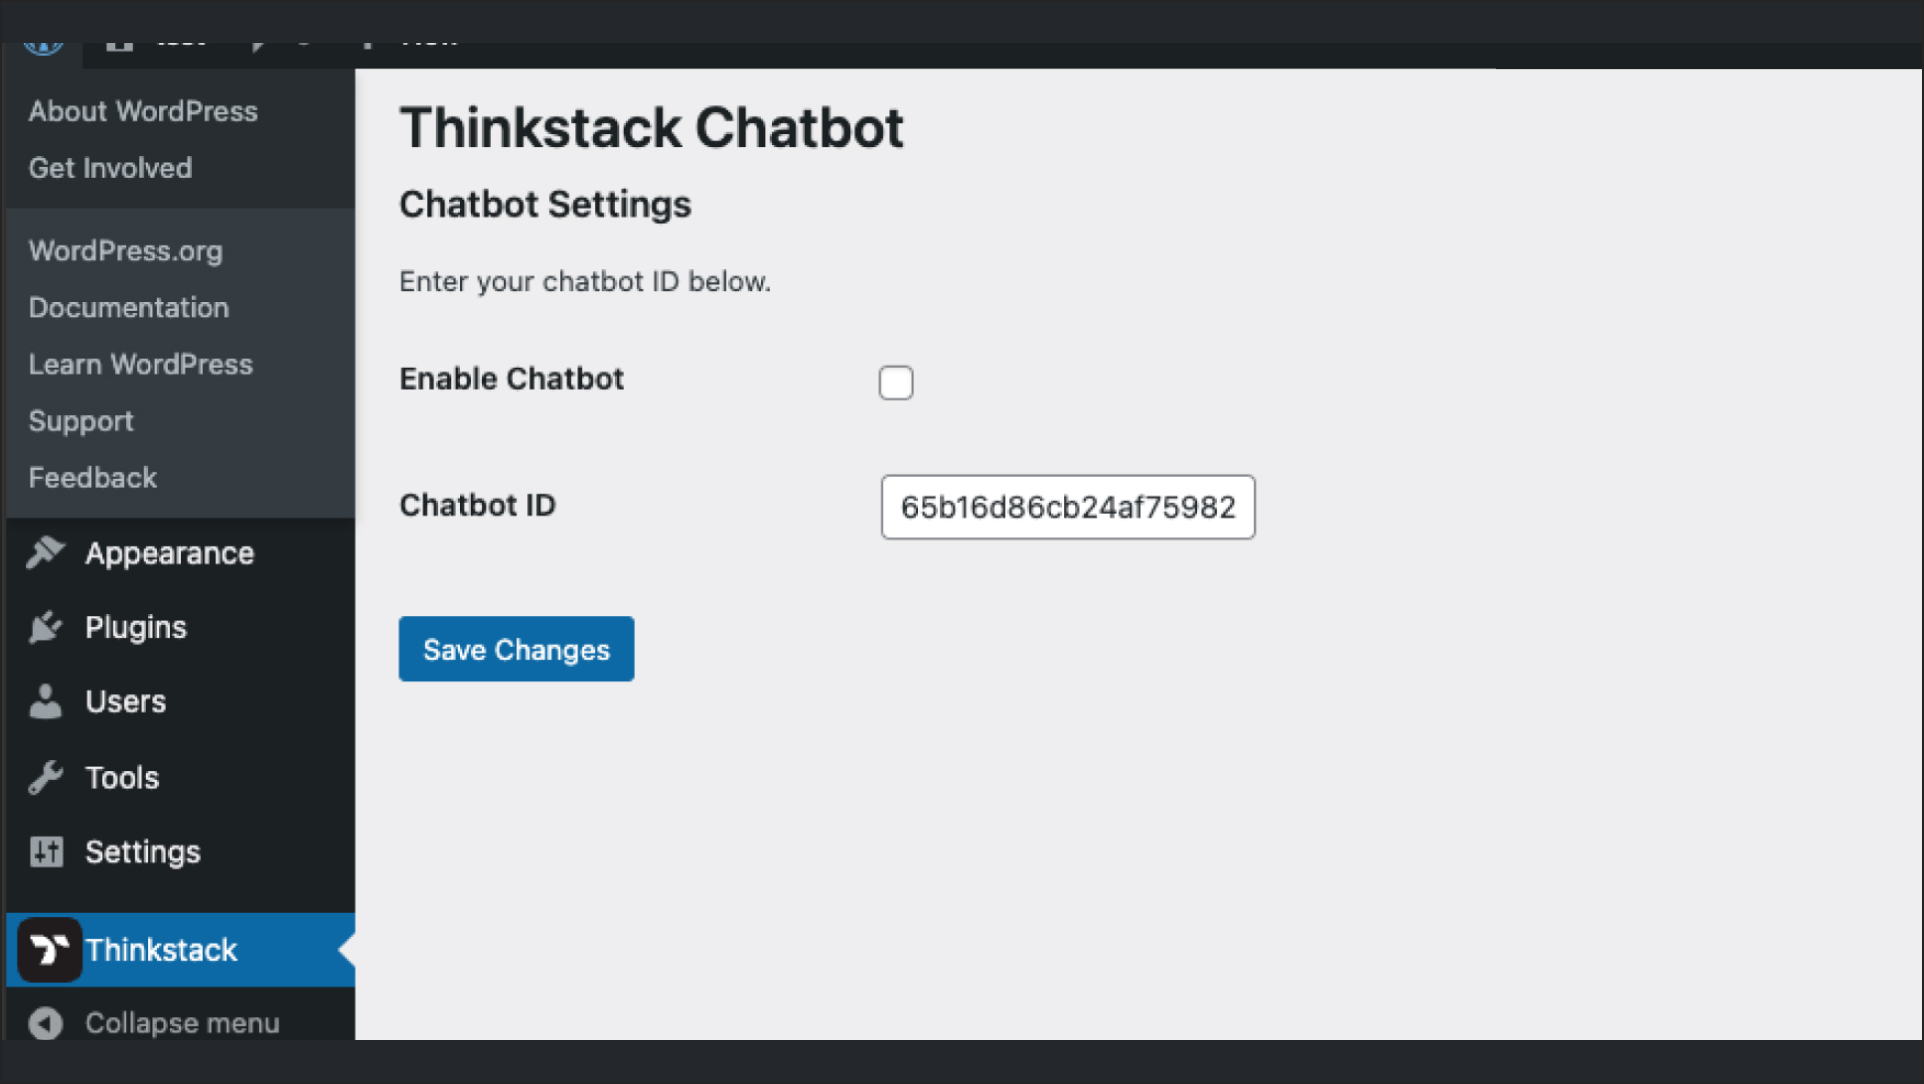
Click on the Activate link next to the Thinkstack plugin to activate it.
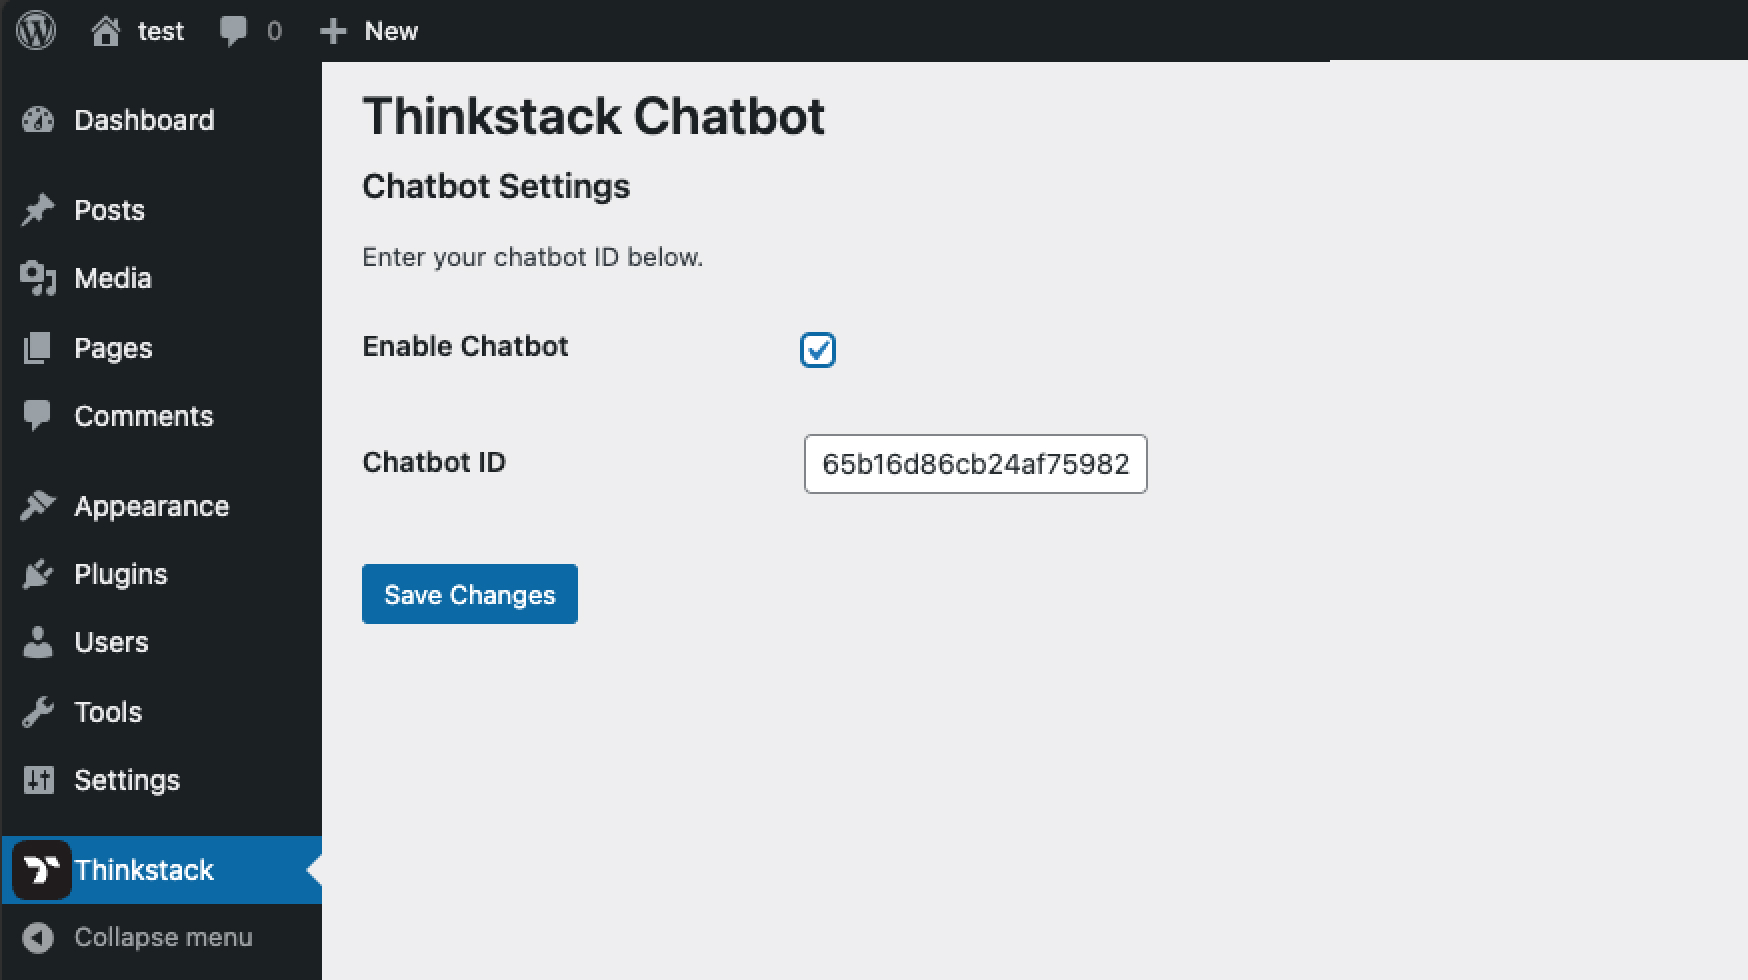
Installing the Plugin Through the WordPress Plugins Screen#
Log in to your WordPress dashboard.

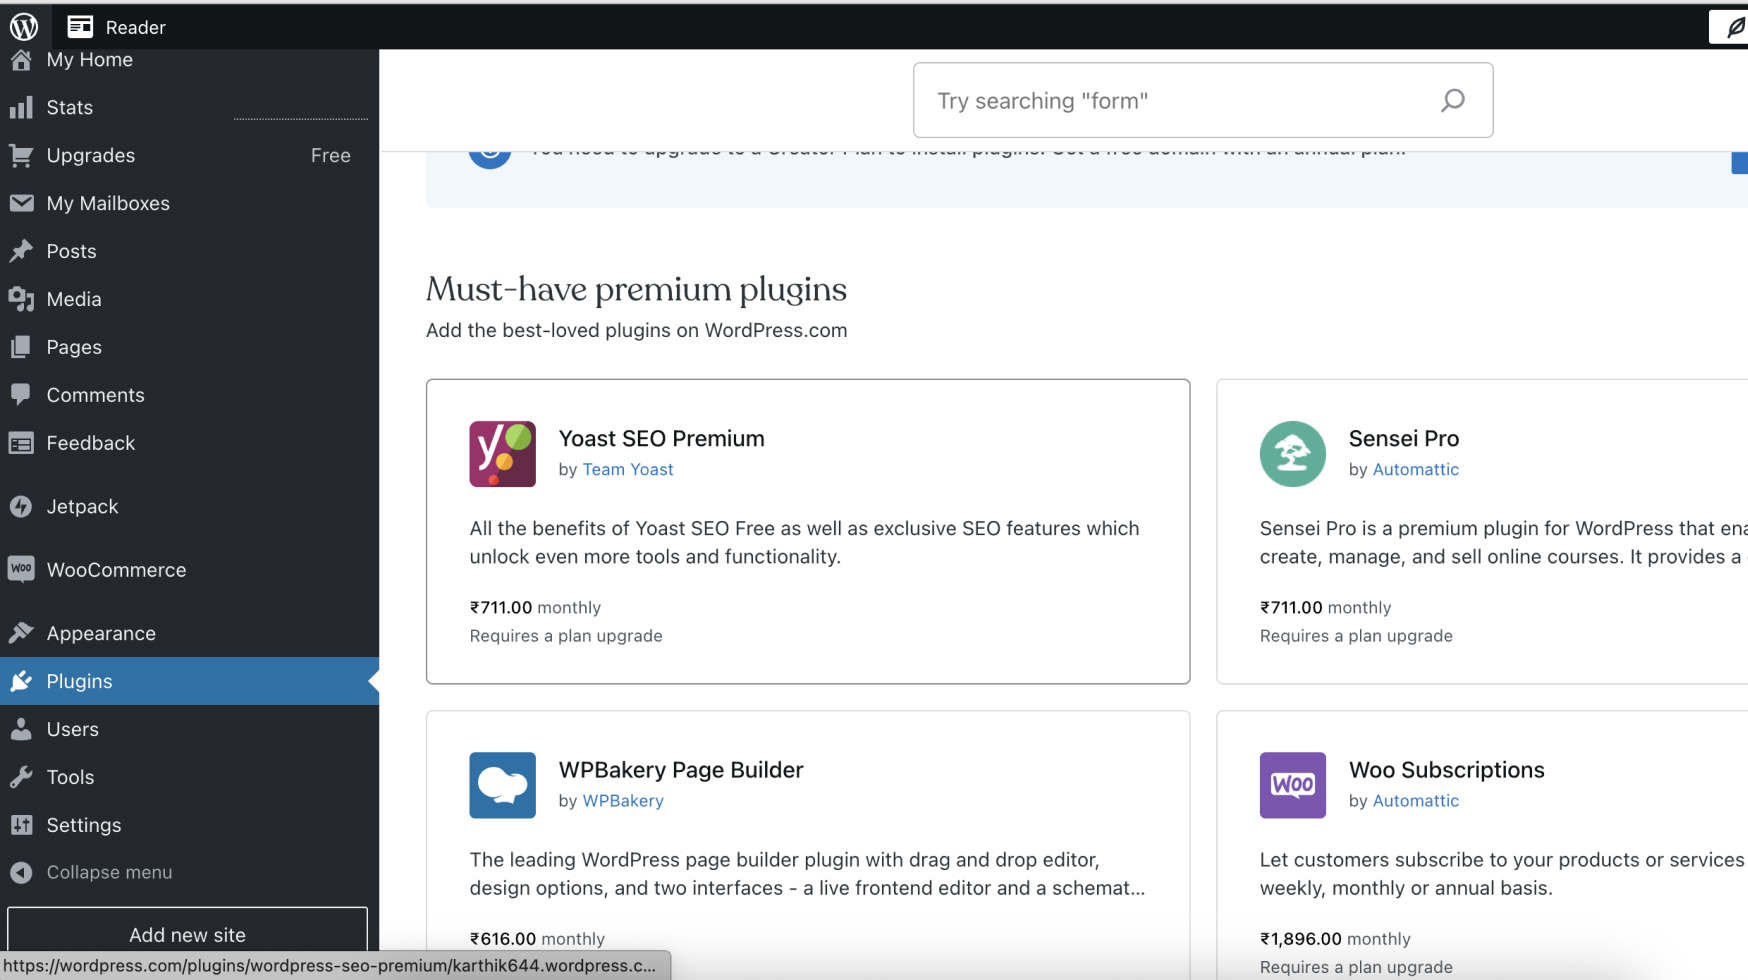
Navigate to the Plugins menu and click on Add New.
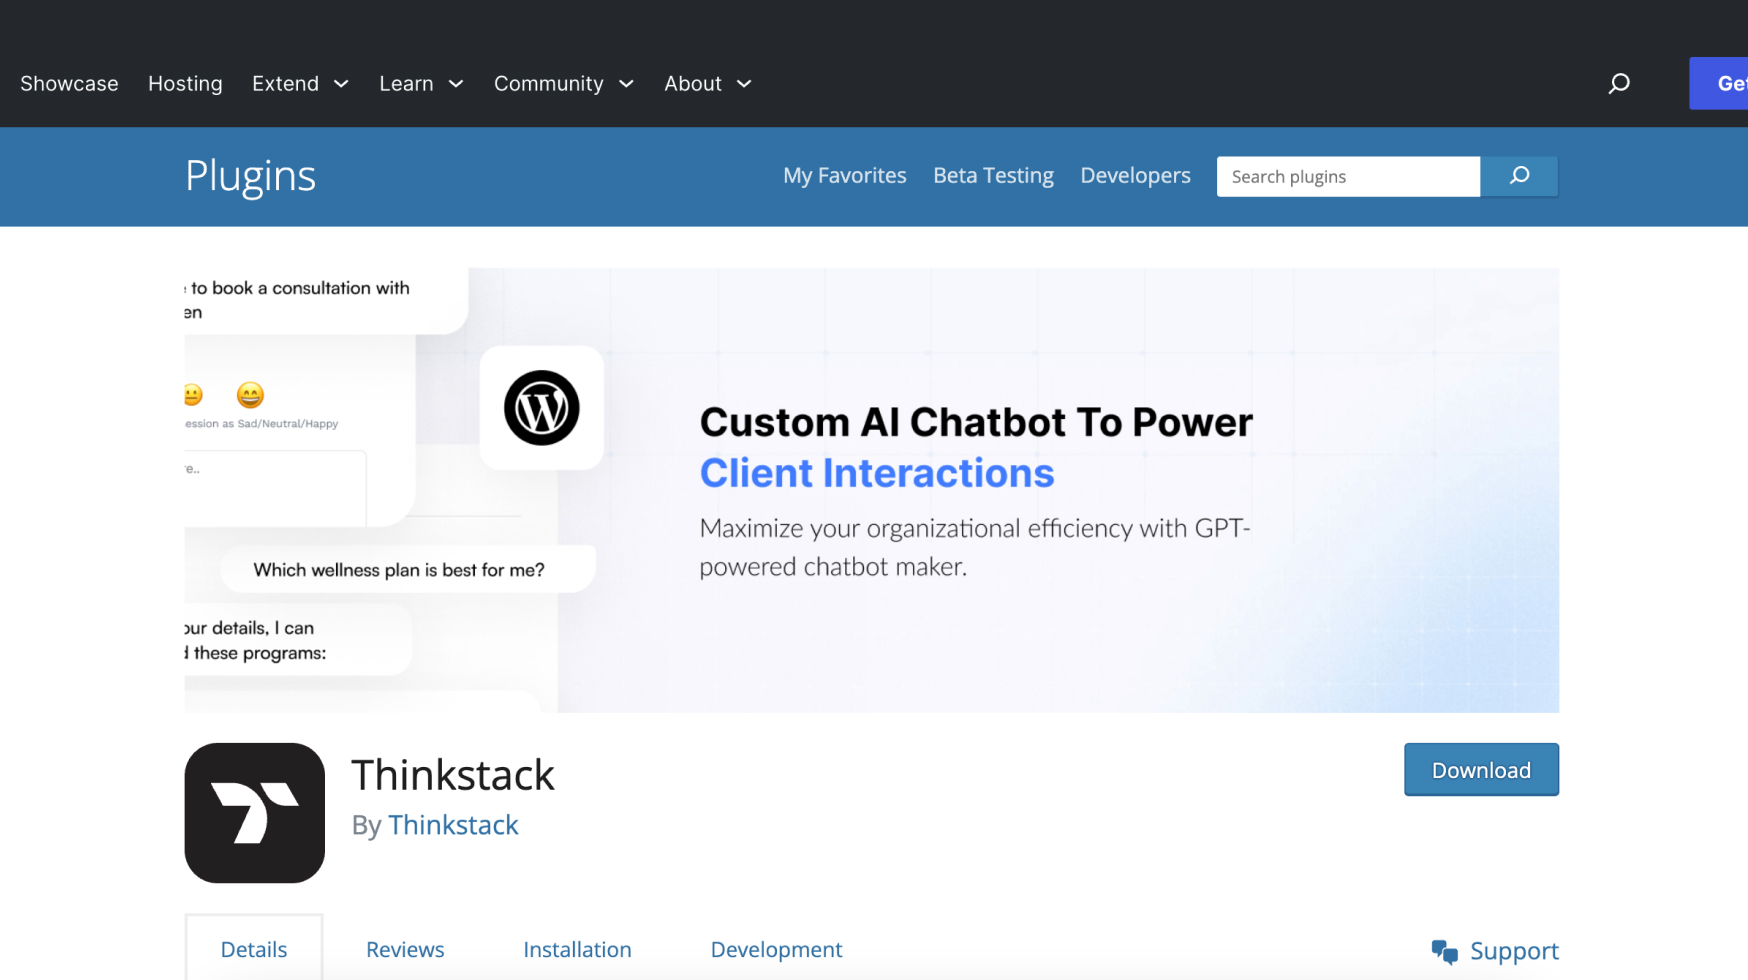
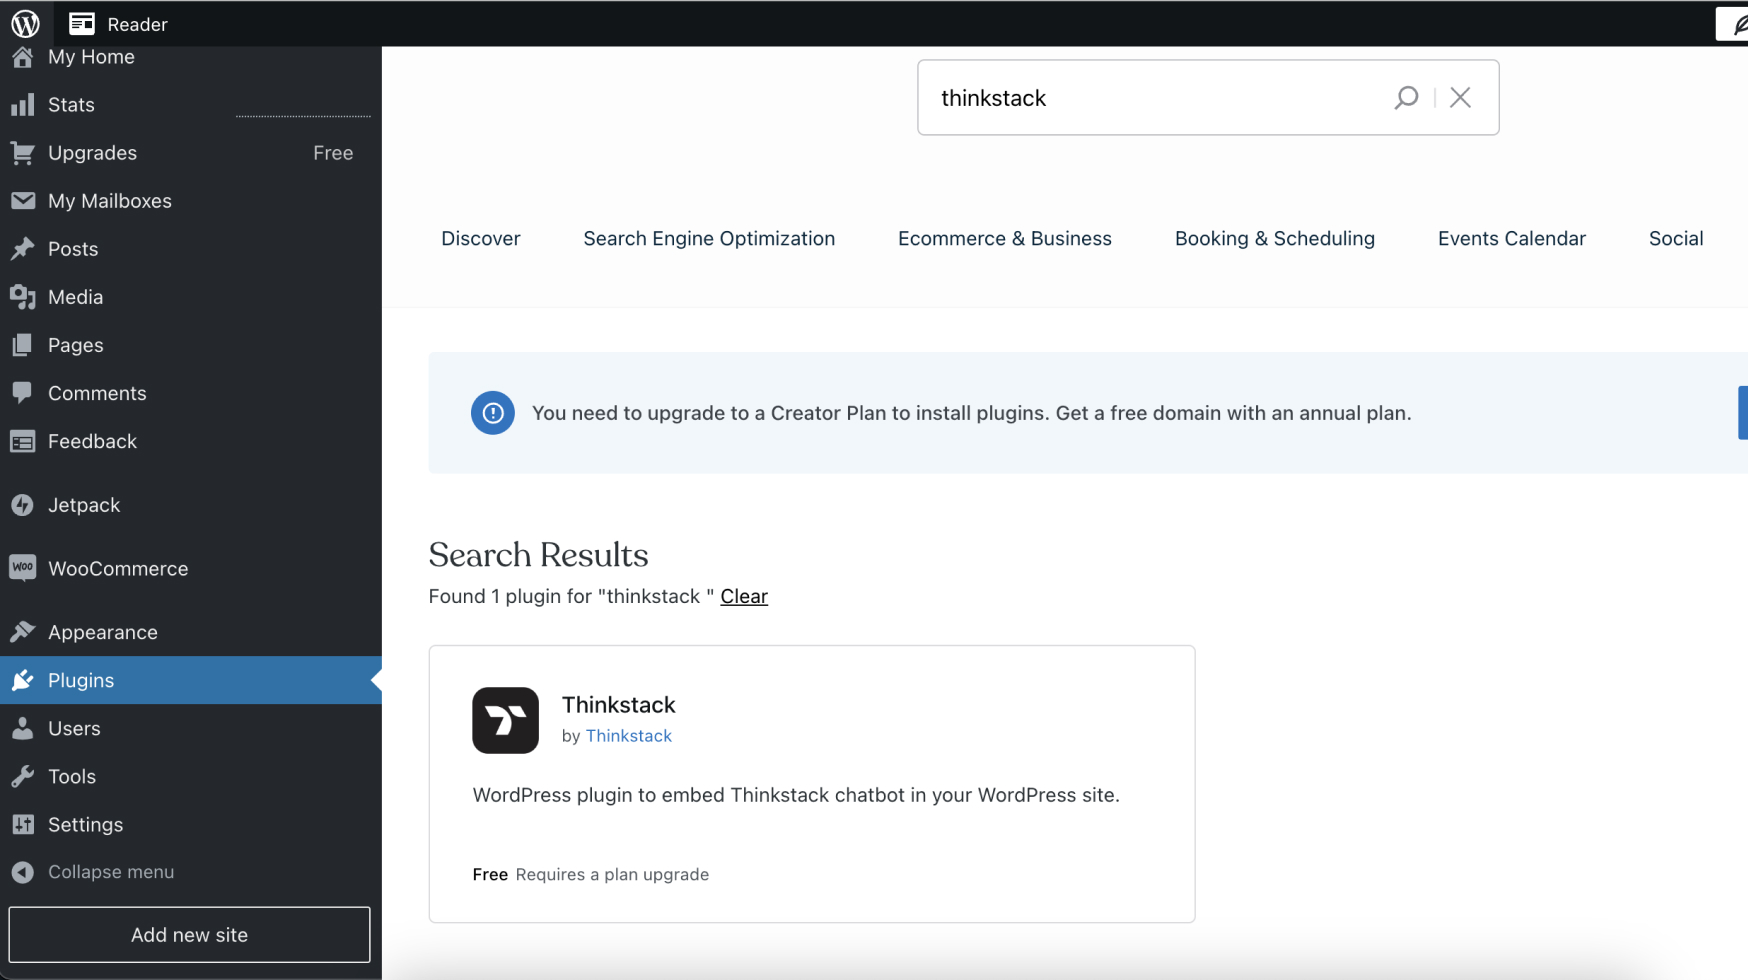
In the search bar, type "Thinkstack".
You should see the Thinkstack plugin appear in the search results
Click on the Install Now button next to the Thinkstack plugin.
Once the plugin has been installed, click on the Activate Plugin link to activate it.
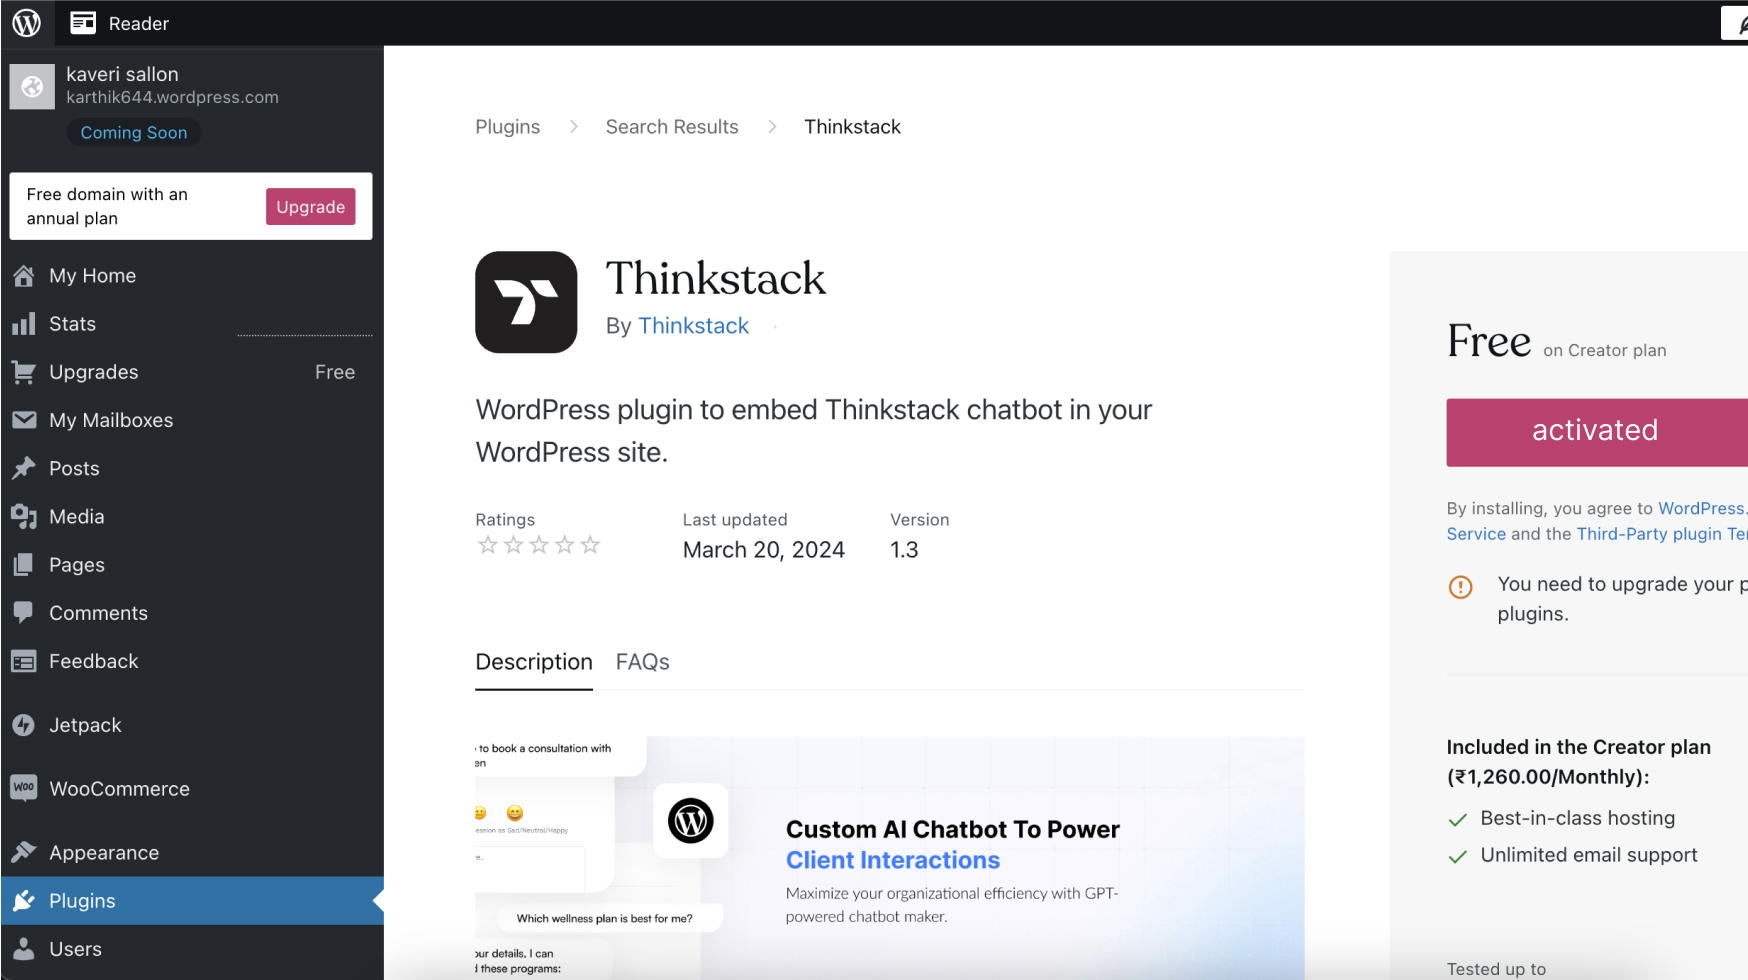

Using the Thinkstack Settings Page#
Once you have activated the Thinkstack plugin, you can use the Thinkstack settings page to configure the plugin. The settings page can be found by navigating to Settings > Thinkstack in your WordPress dashboard.
Additional Notes#
- This guide does not cover installing plugins via FTP as adding plugins via FTP is not a feature supported by Thinkstack.
- For more information on using the Thinkstack plugin, please refer to the plugin's documentation