Thinkstack Chatbot: General Settings Guide
info
This guide walks you through the "General Settings" section of your chatbot in Thinkstack, explaining each configurable element to help you set up and personalize your chatbot for optimal engagement.
Accessing General Settings#
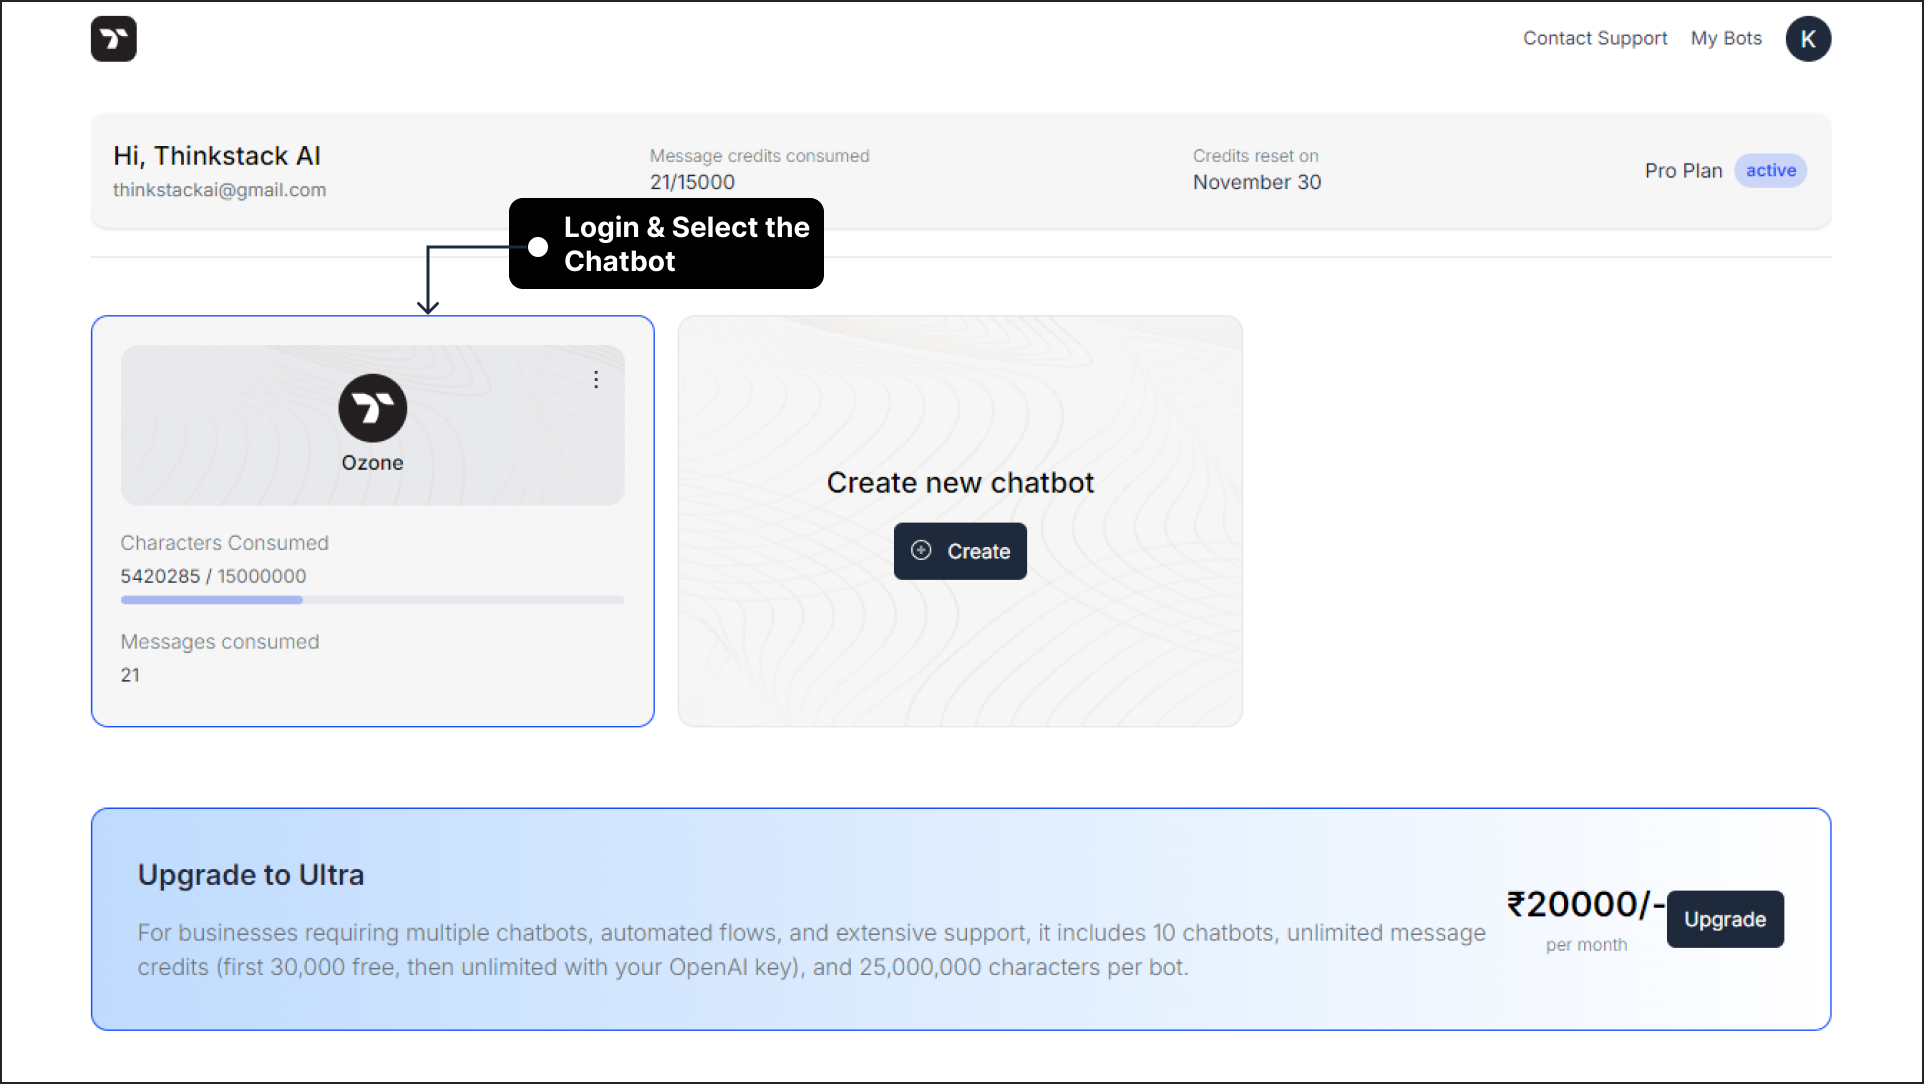
Log in to Thinkstack: First, log in to your Thinkstack account, then click on the chatbot for which you want to edit the settings.
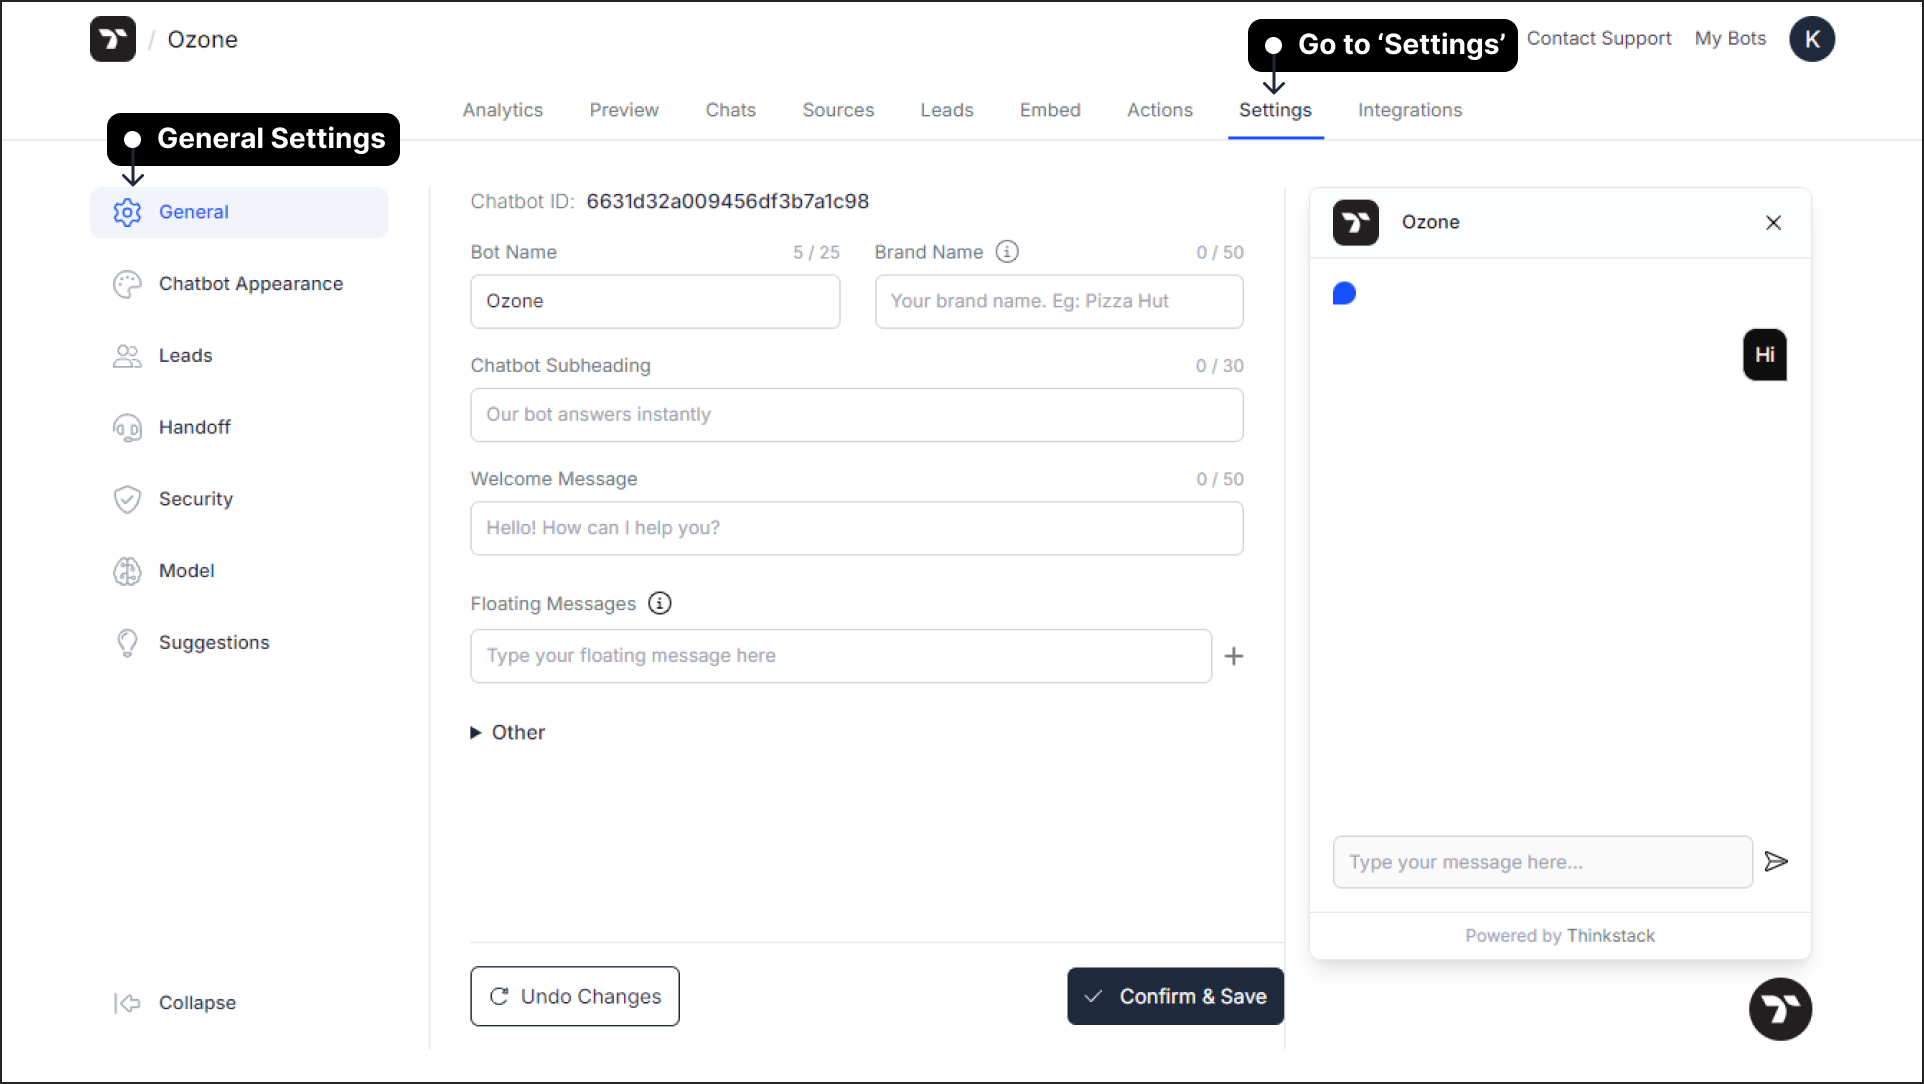
Navigate to Settings: Go to the 'Settings' section in the top navigation bar. On the left sidebar, you’ll see various options; the first one is 'General'.
General Settings Options#
Here's a breakdown of the settings available under 'General':
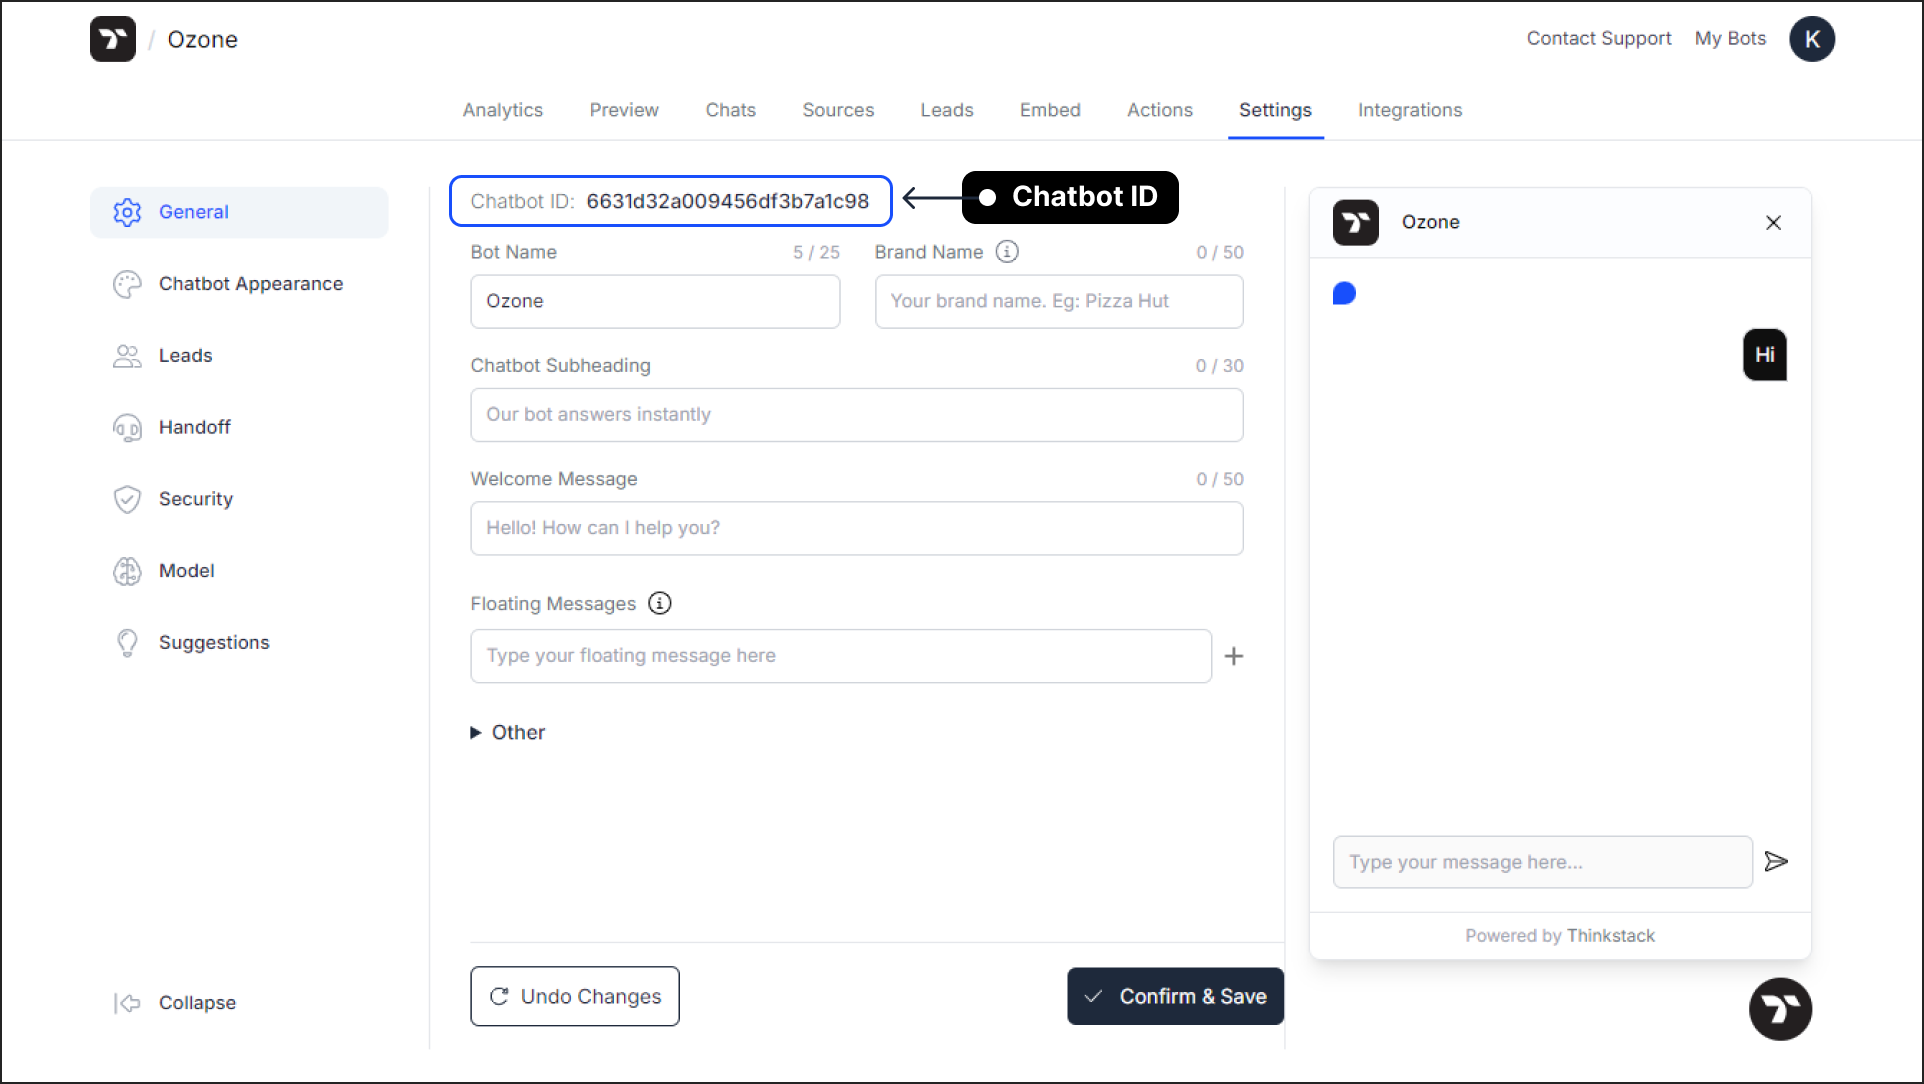
Chatbot ID: An alphanumeric identifier unique to your chatbot. It can be useful for troubleshooting issues or enabling specific chatbot display styles for the chatbot.
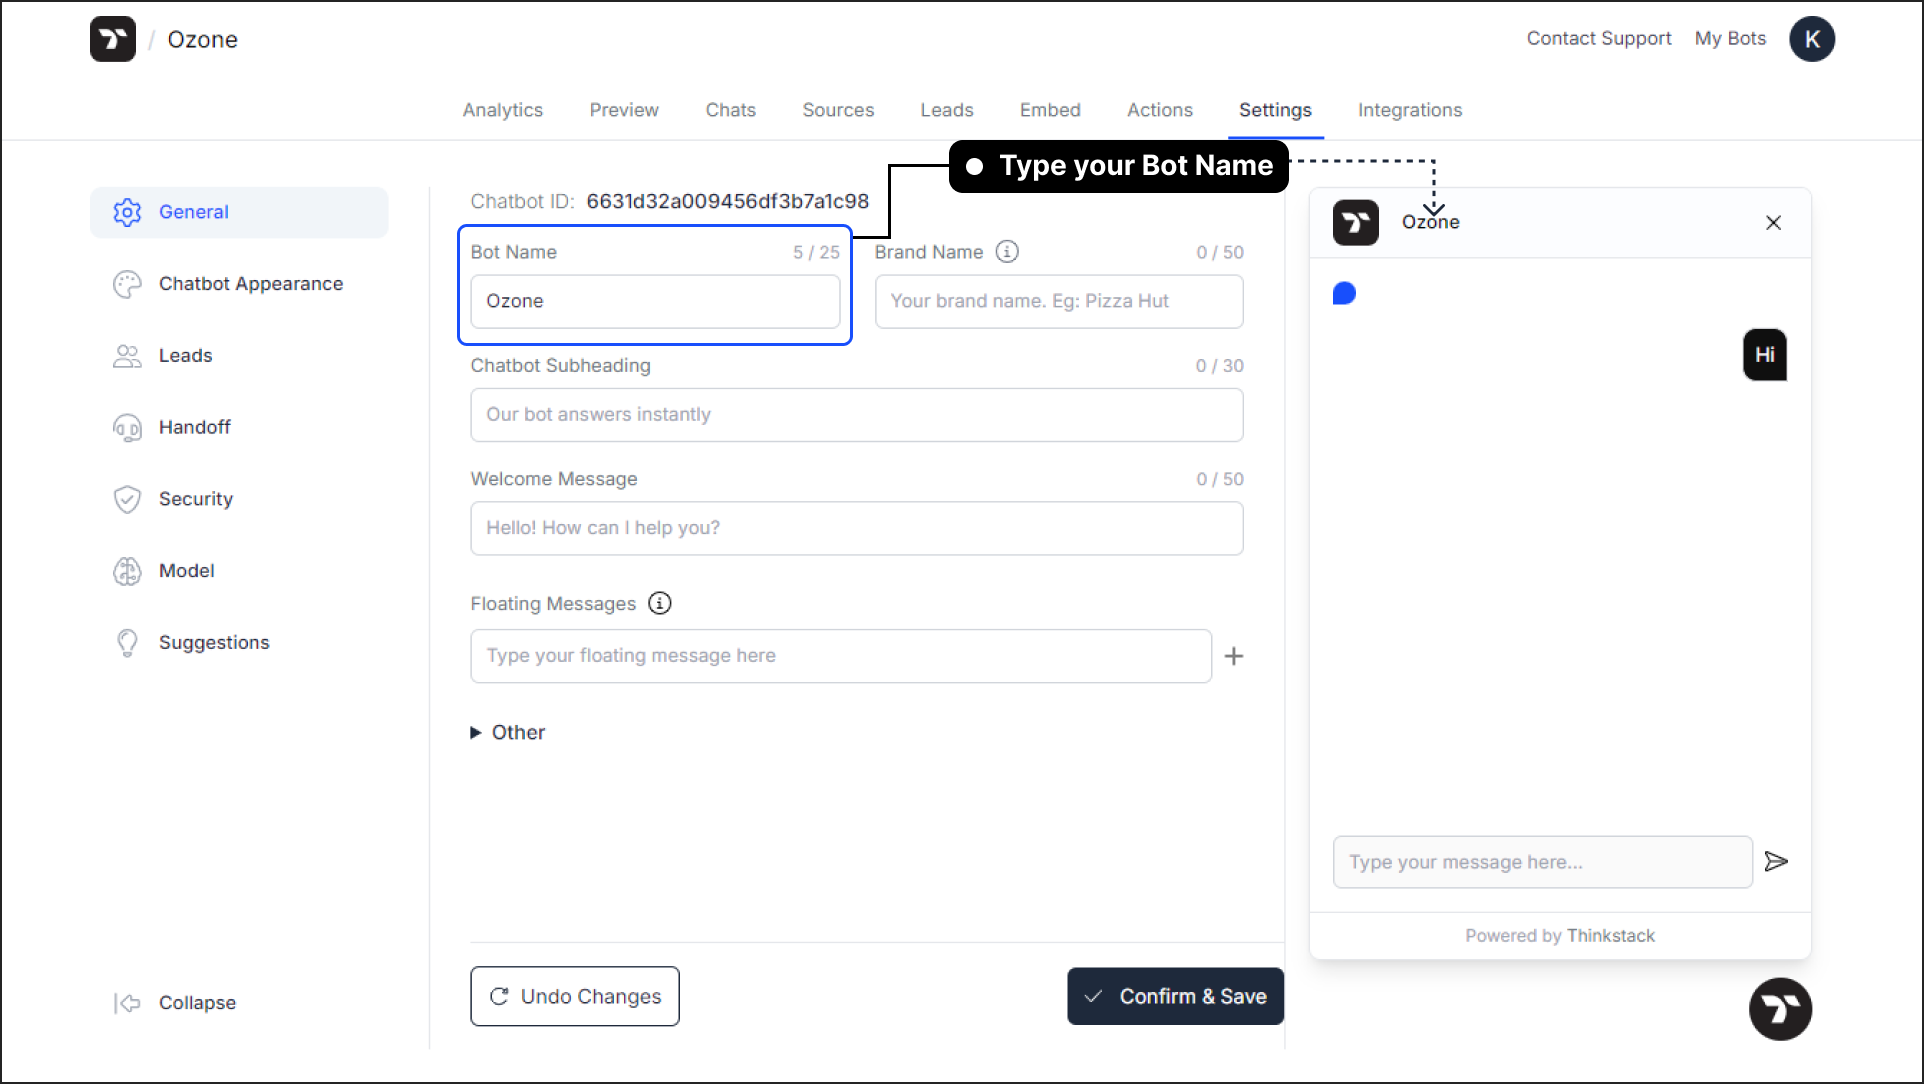
Bot Name: This setting allows you to rename your chatbot. The Bot Name is how the chatbot introduces itself to users and is displayed on the chat interface.
Brand Name: Enter the name of your brand that you want your chatbot to represent. This helps establish the chatbot's identity and ensures it focuses on answering questions specific to your brand.
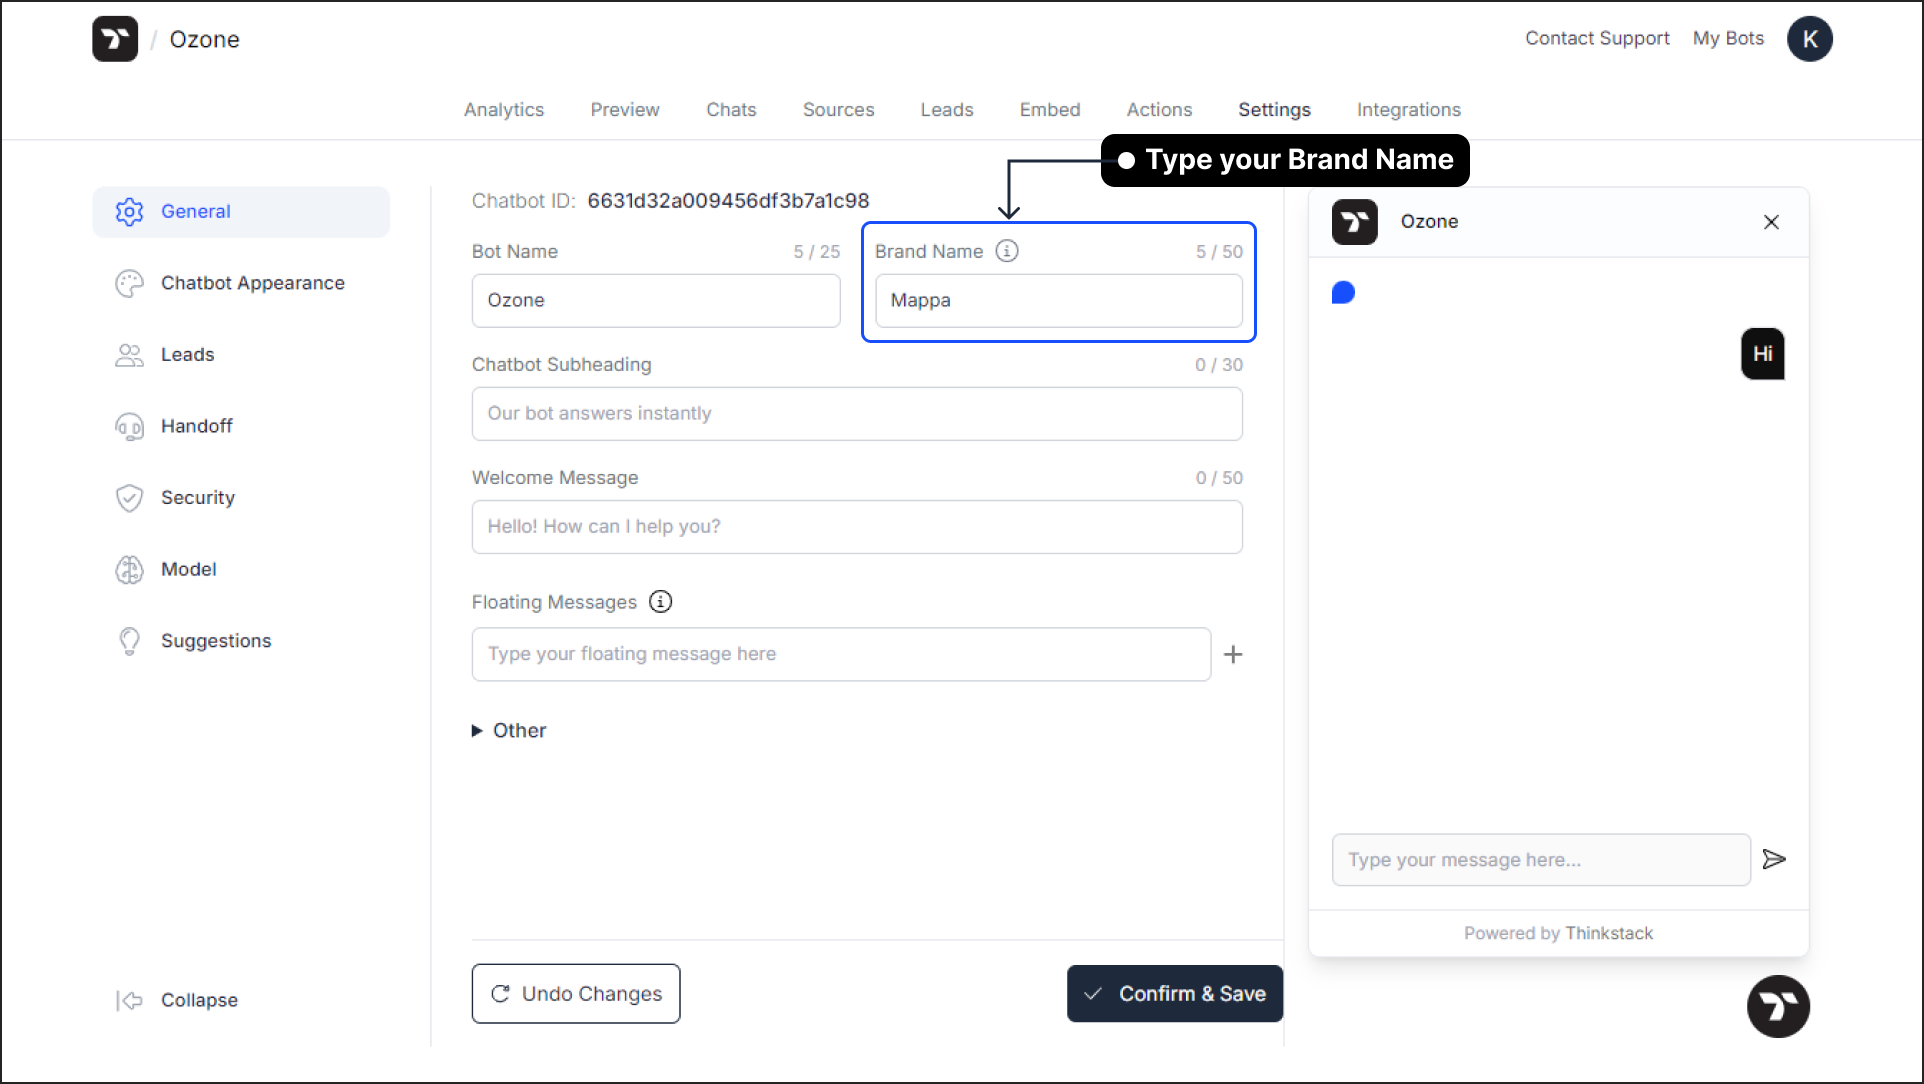
Chatbot Subheading: Add a subheading that appears directly below the bot's name in the header. This line can provide additional context or a brief mission statement, such as "I am here to help you."
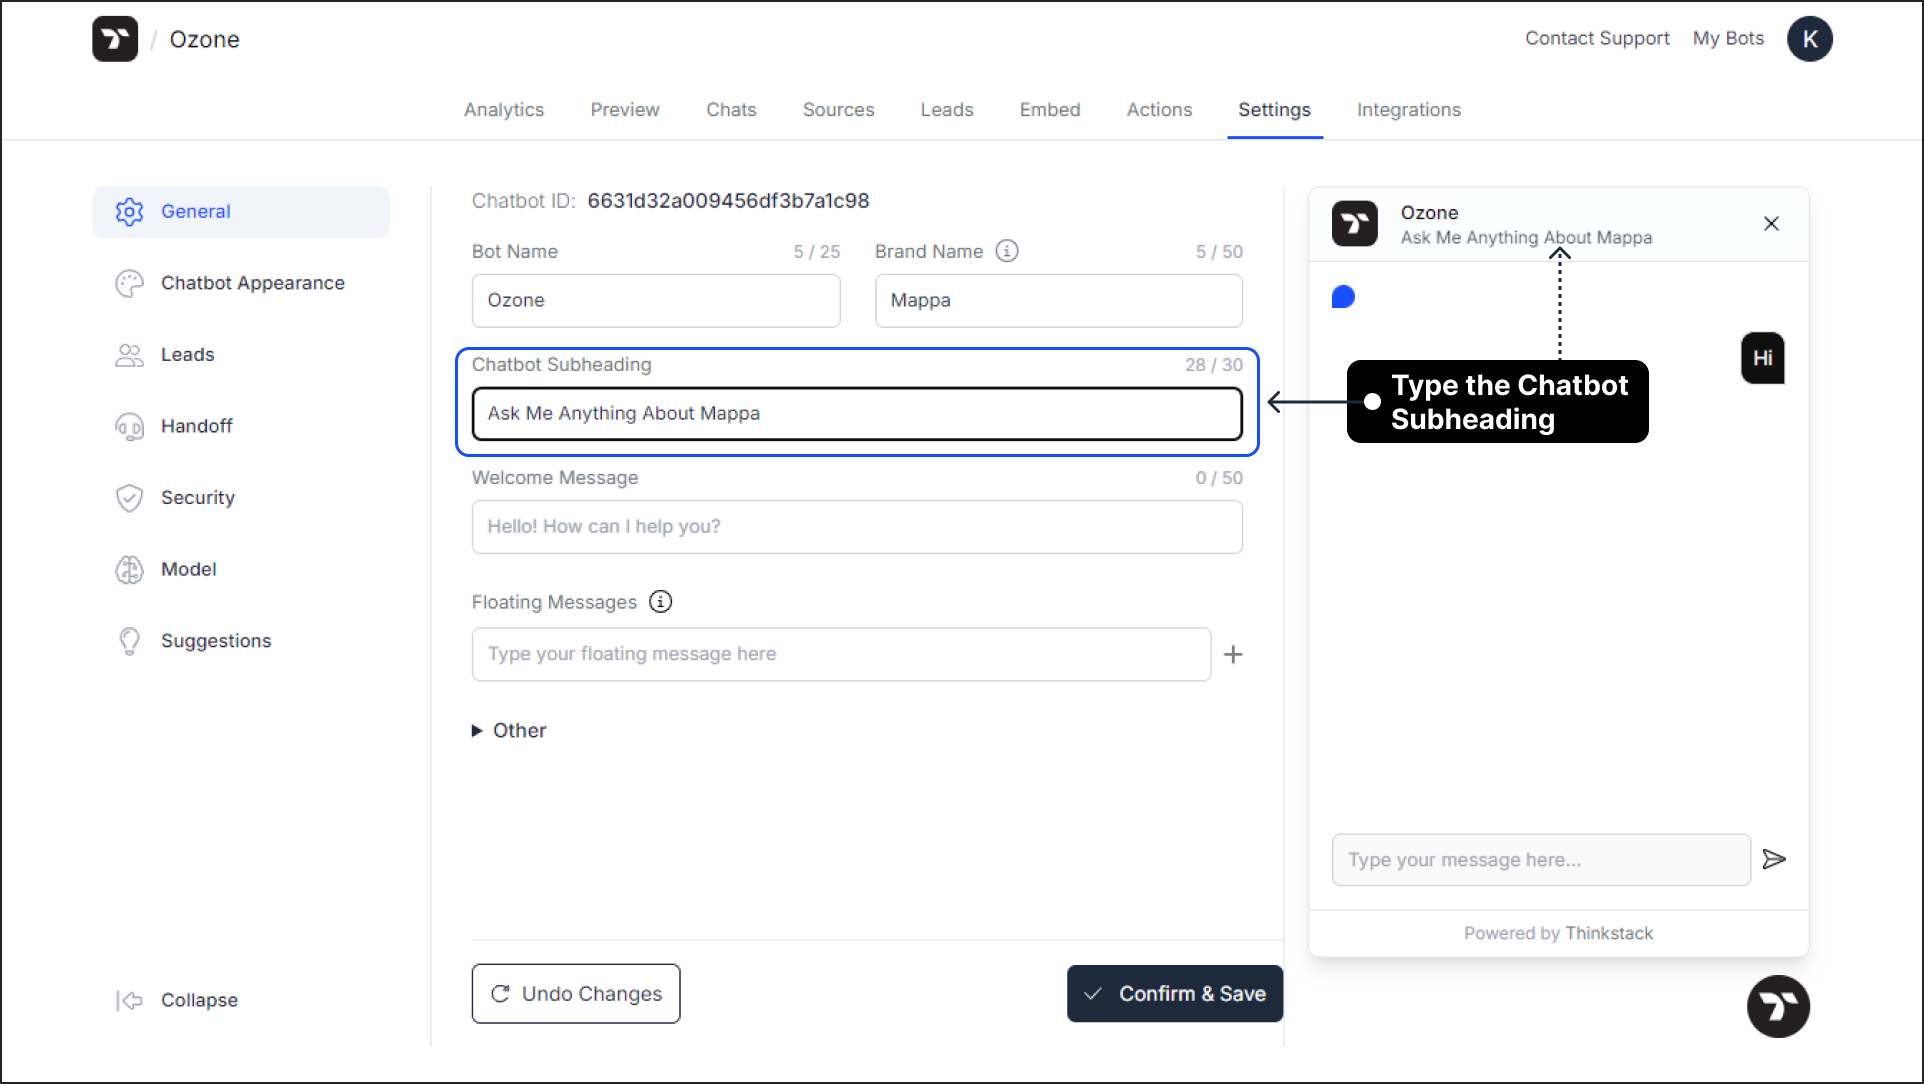
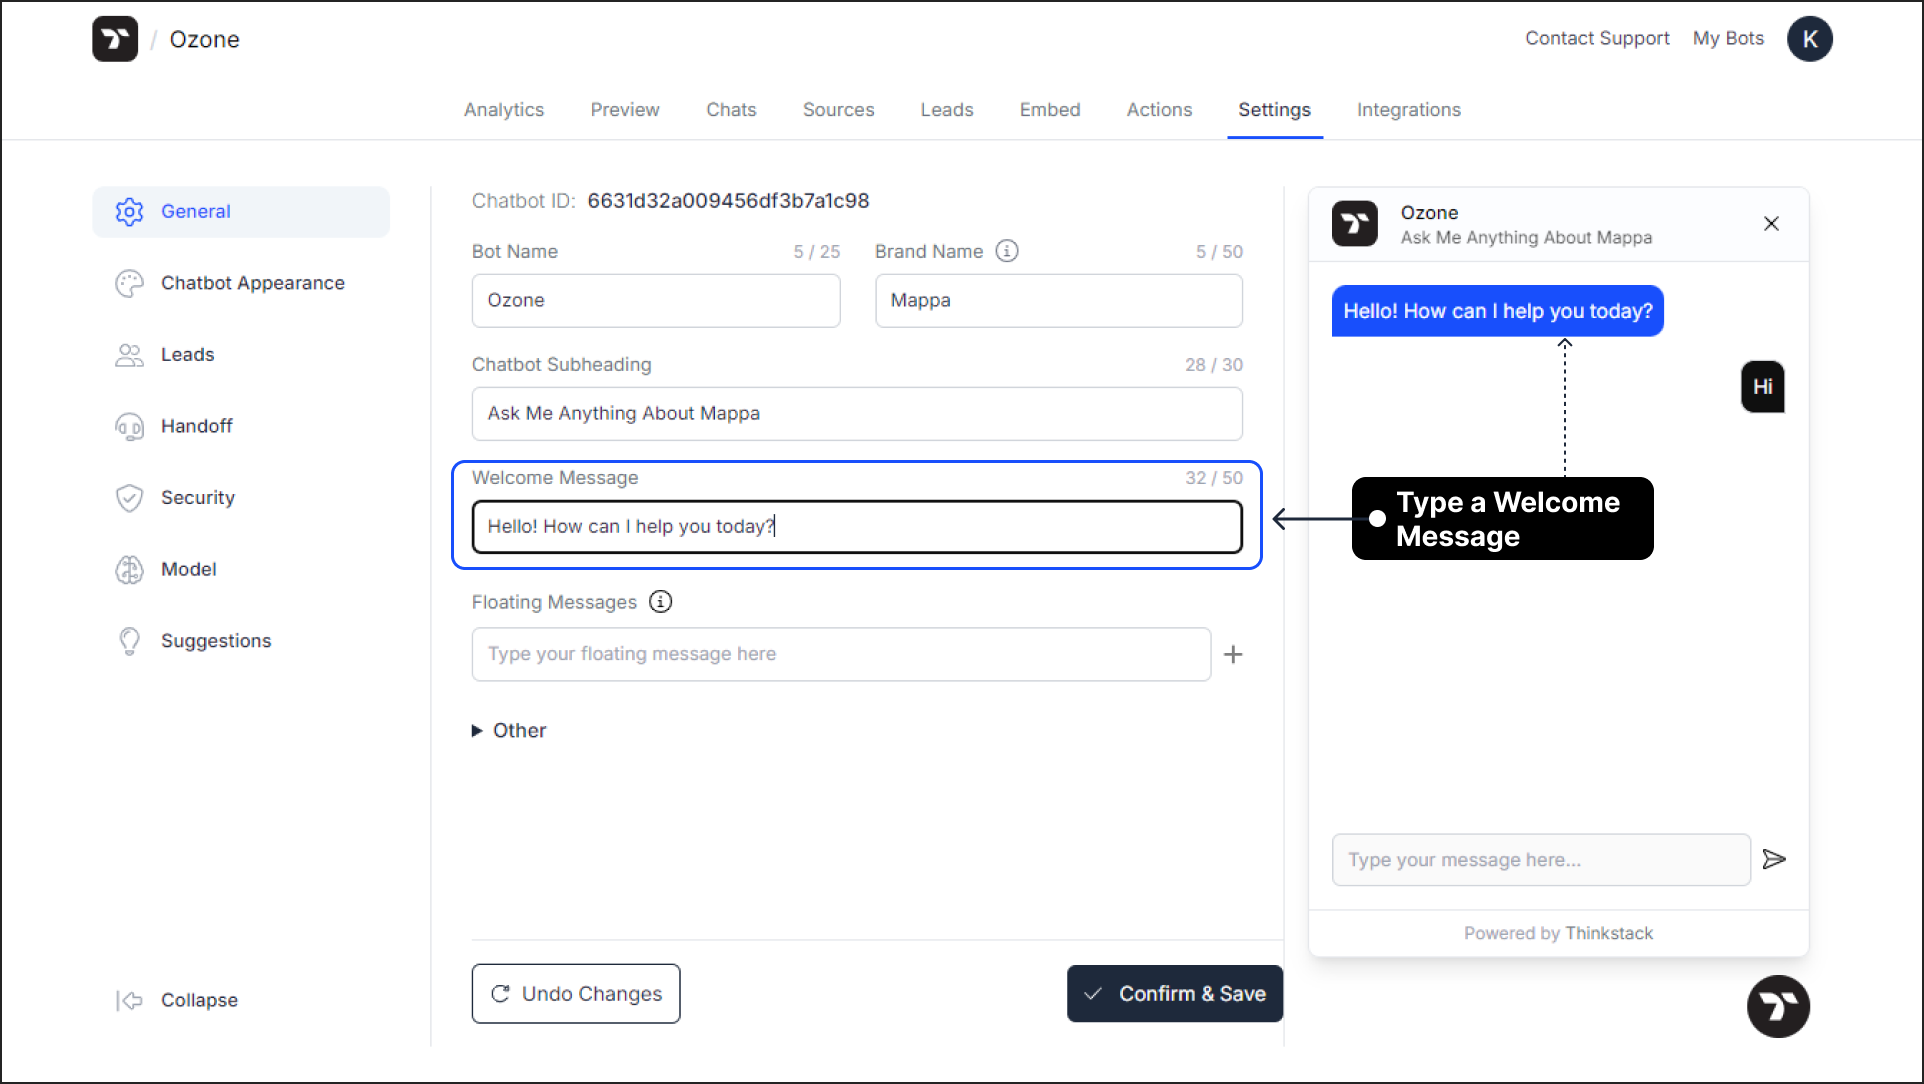
Welcome Message: The first message users see when they open the chat interface. This message sets the tone for the conversation and encourages users to engage. Example: "Hey! How can I help you today?"
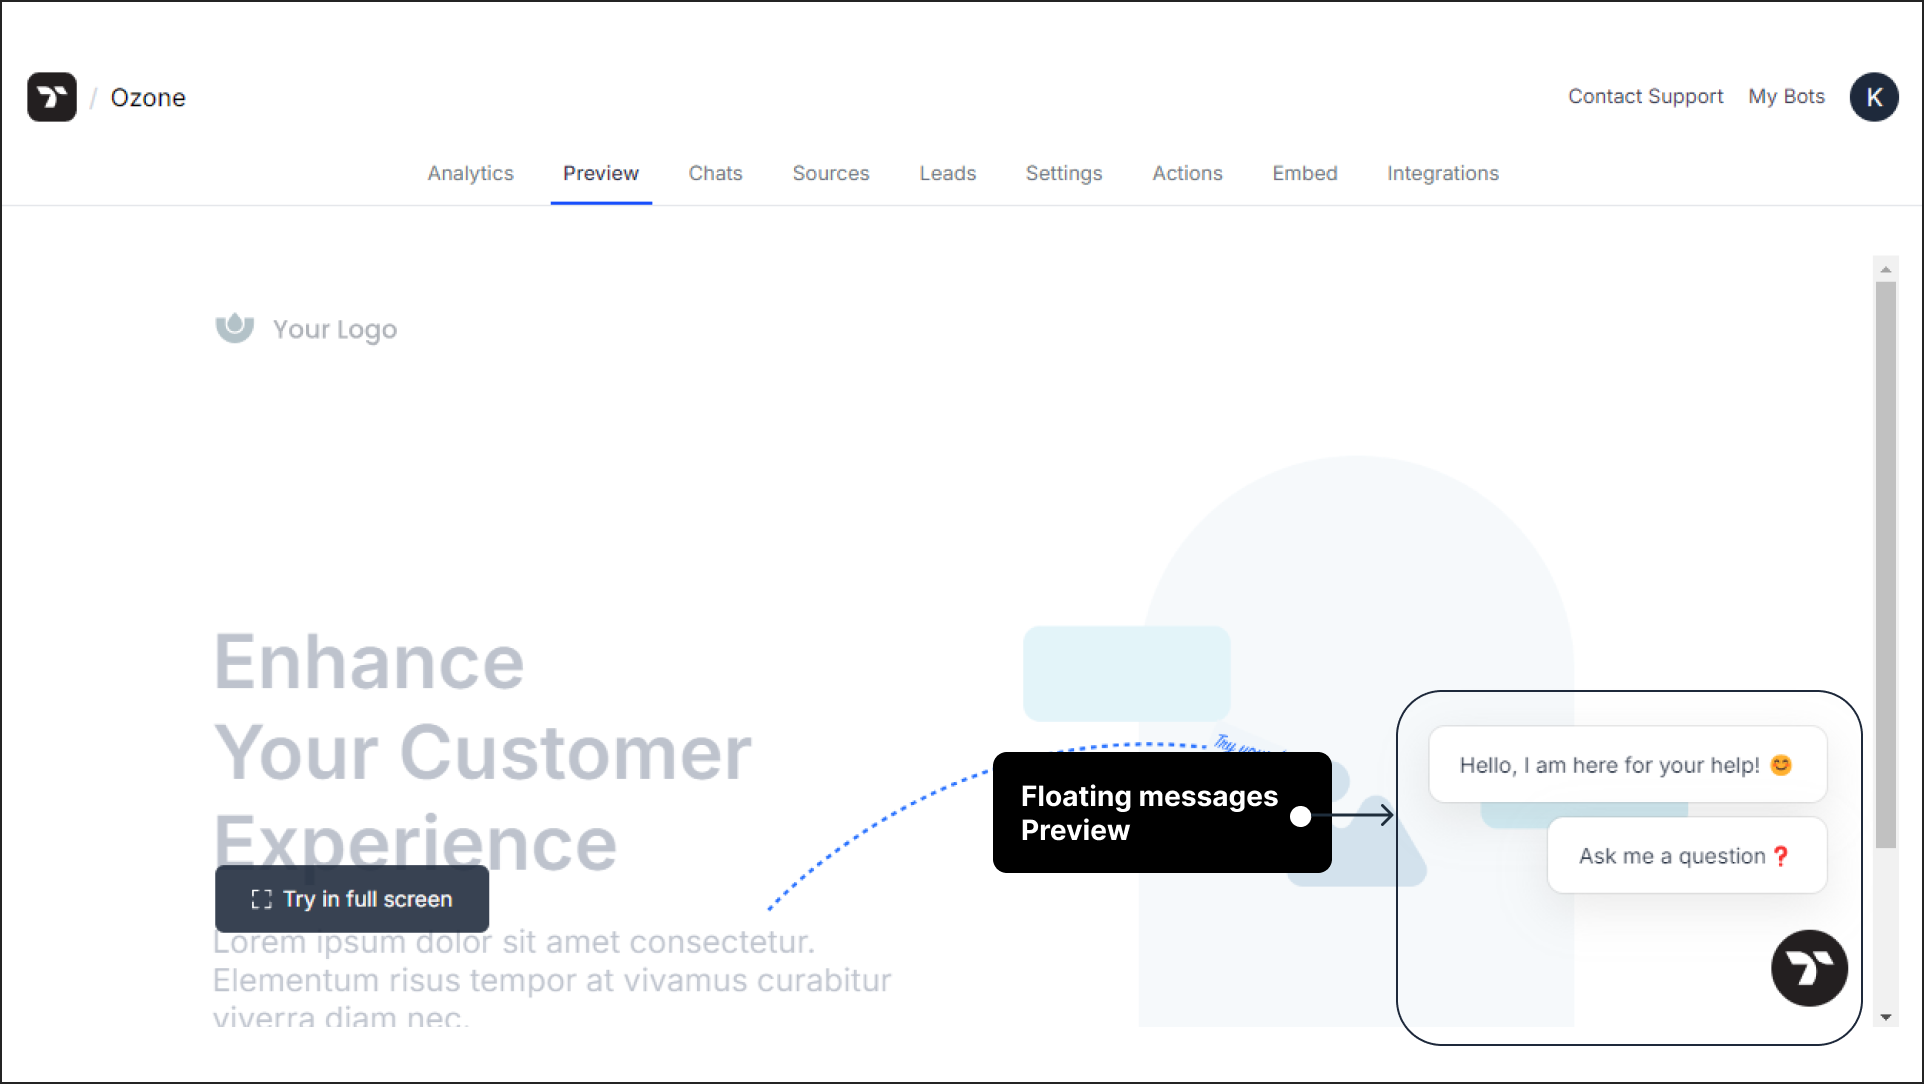
Floating Messages: These are short, proactive messages that appear alongside the chat bubble to prompt user interaction. Use floating messages as nudges to guide users toward engaging with the bot.
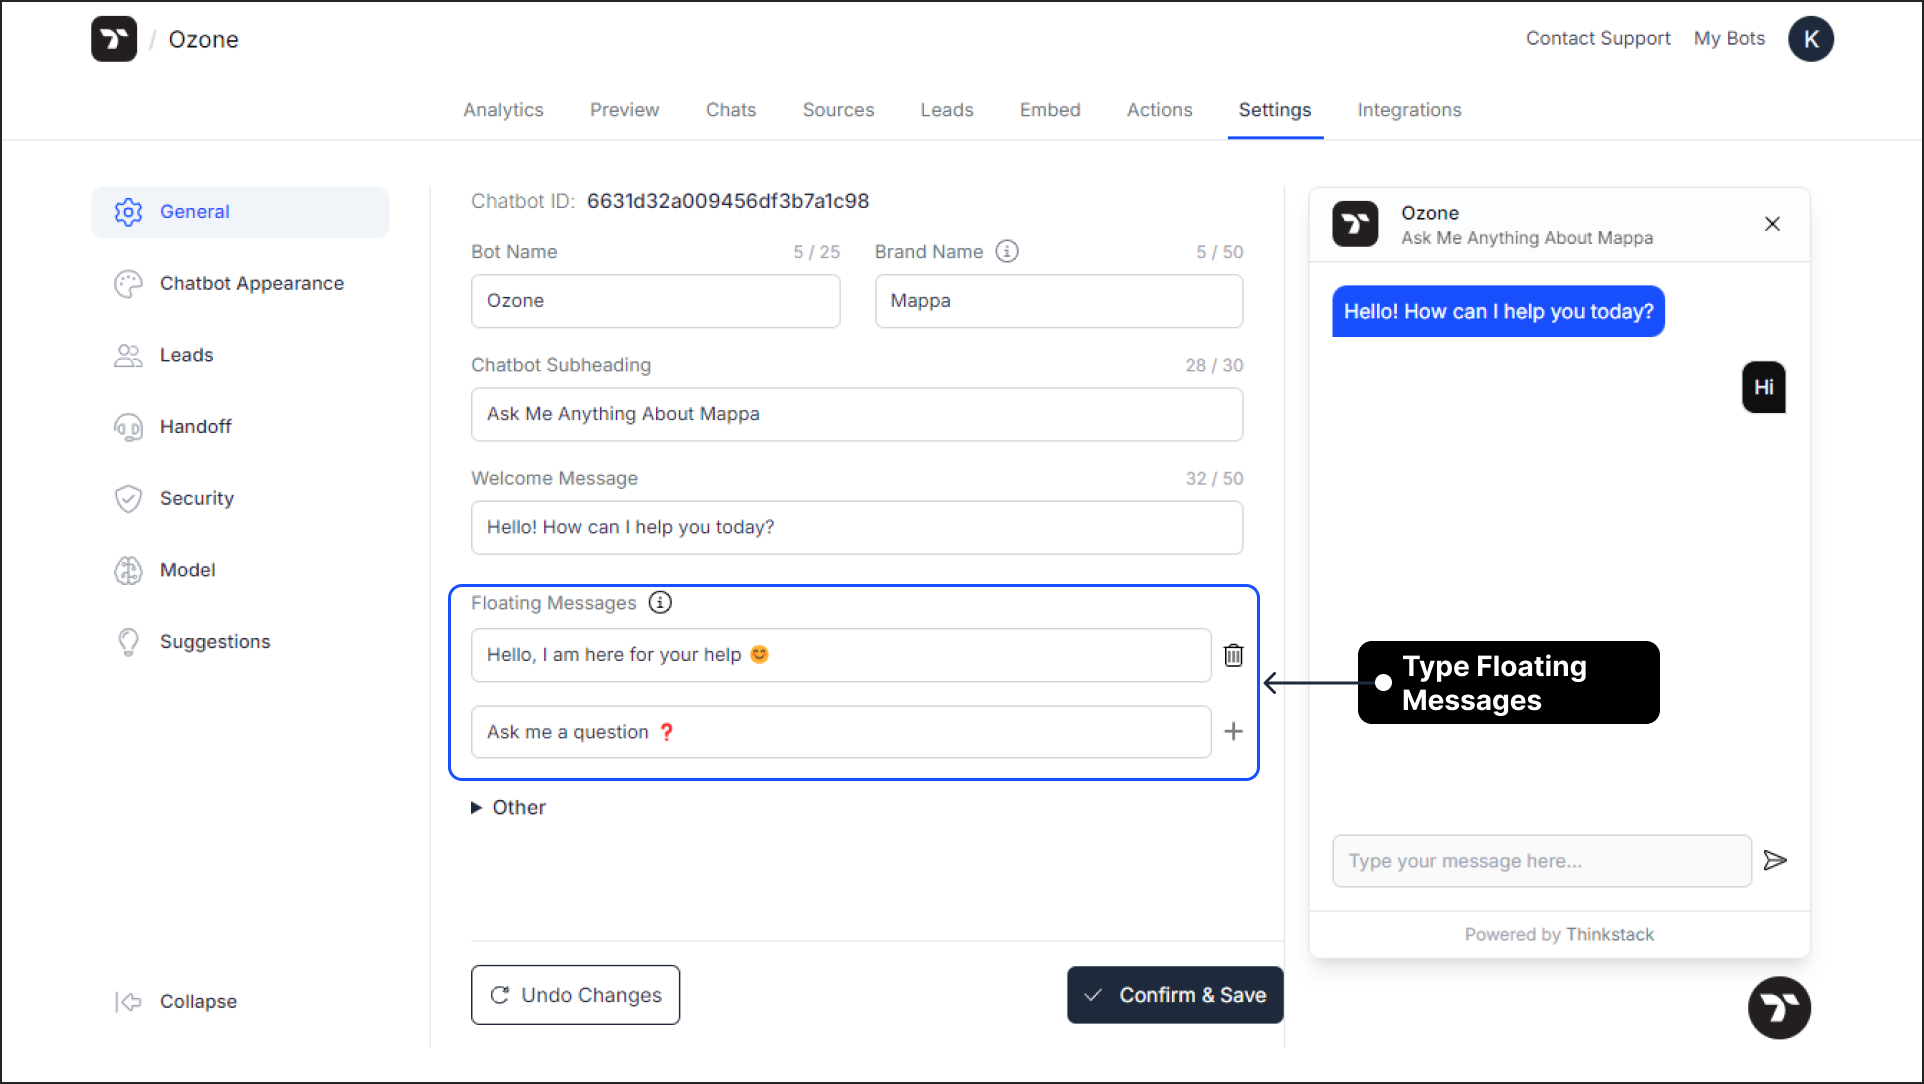 Here's the preview of the flaoting messages:
Additional Settings (Other Options)#
By expanding the Other section, you’ll find more advanced settings:
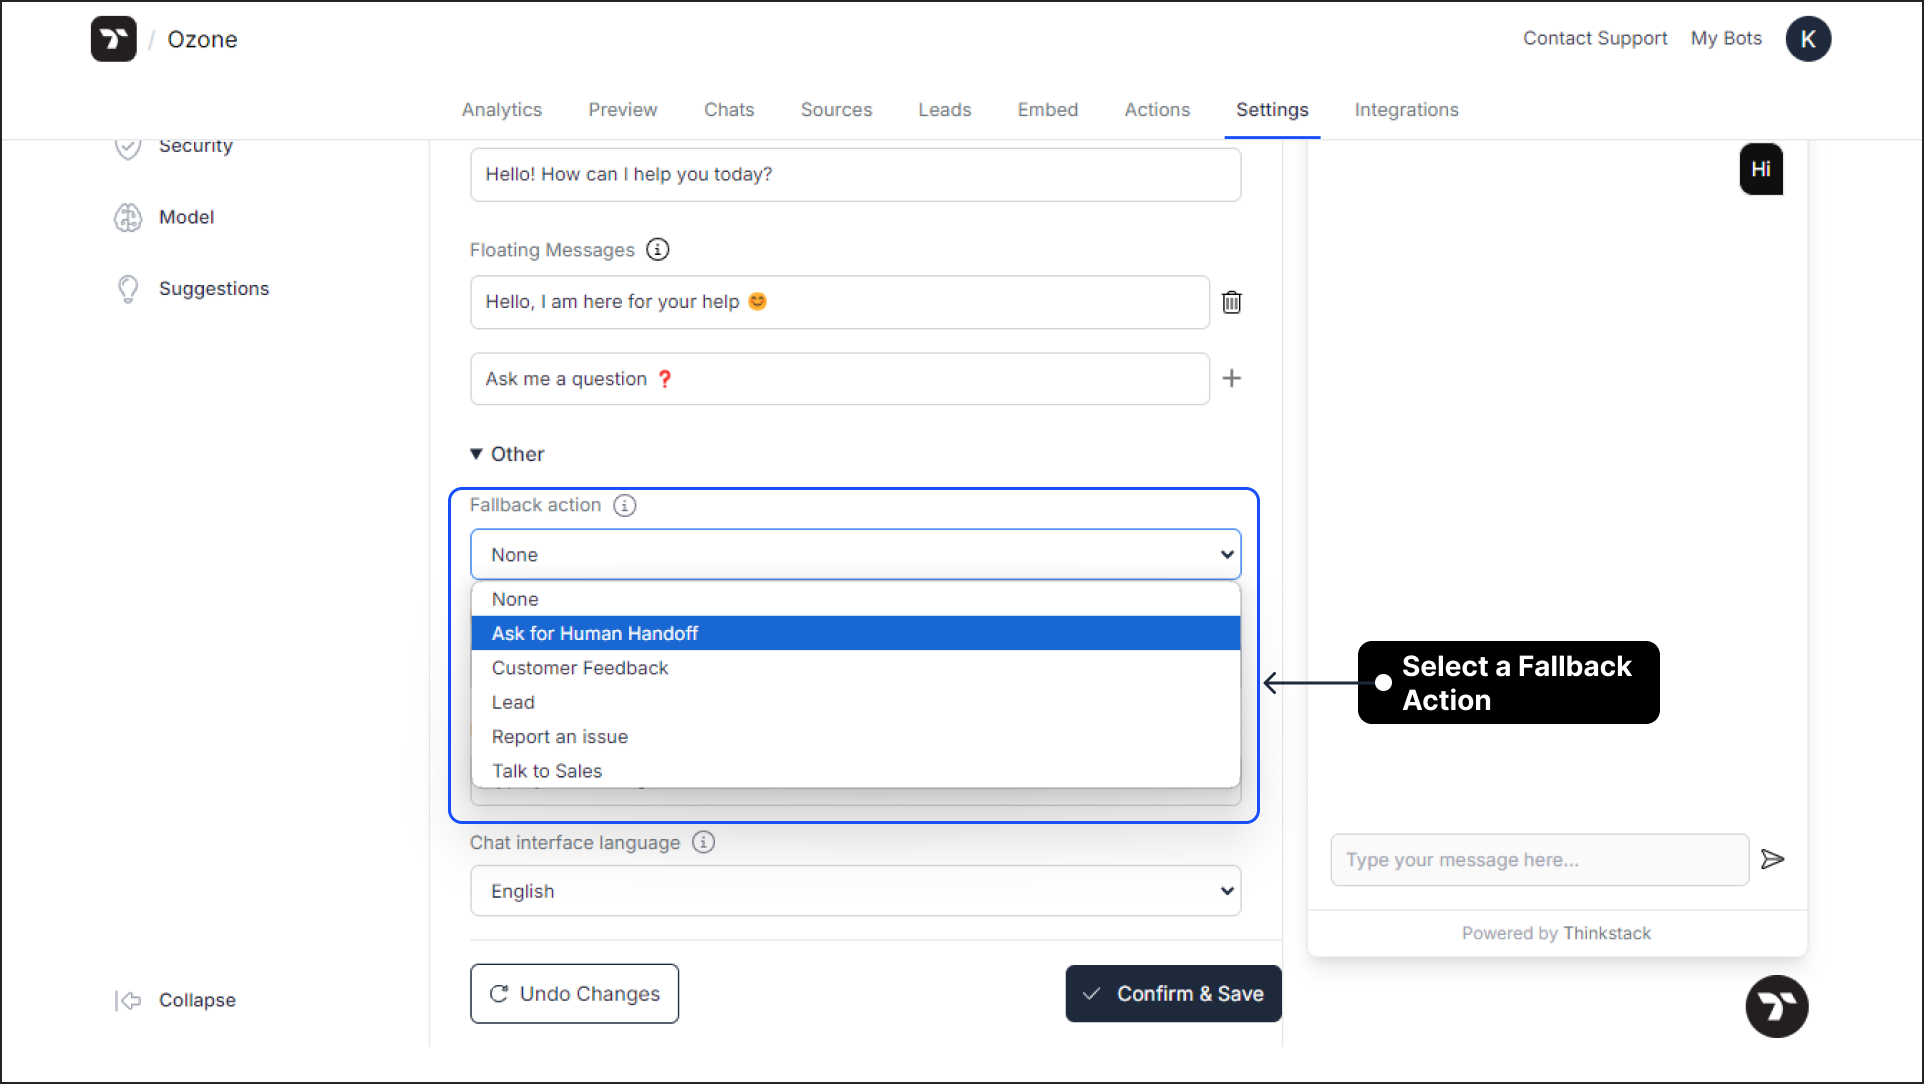
- Fallback Action: Sometimes, the chatbot may not know the answer to a user’s query, even if the question is relevant to your brand or product. In such cases, a fallback action ensures that the chatbot avoids providing incorrect information and guides the user effectively in the right direction. You can select a human handoff or choose any of the actions that are currently active and published from the drop-down menu.
warning
It is highly recommended to configure a fallback action that does not include any specific intents/triggers, or suggestions. This ensures that when the chatbot doesn't understand the user's query, it accurately defaults to the fallback action, providing a seamless user experience.
note
🔸 Ensure that you have already created and published an Action beforehand. Only then will the action name appear in the fallback action drop-down menu for selection.
🔸 The Human Handoff feature functions as a fallback mechanism for queries that are relevant but not fully covered by the knowledge base. However, if a query is deemed irrelevant or outside the scope of the system, the human handoff will not be triggered as a fallback. For relevant queries that do not have a direct answer in the knowledge base, human intervention will occur, provided that the human handoff is selected as a fallback option.
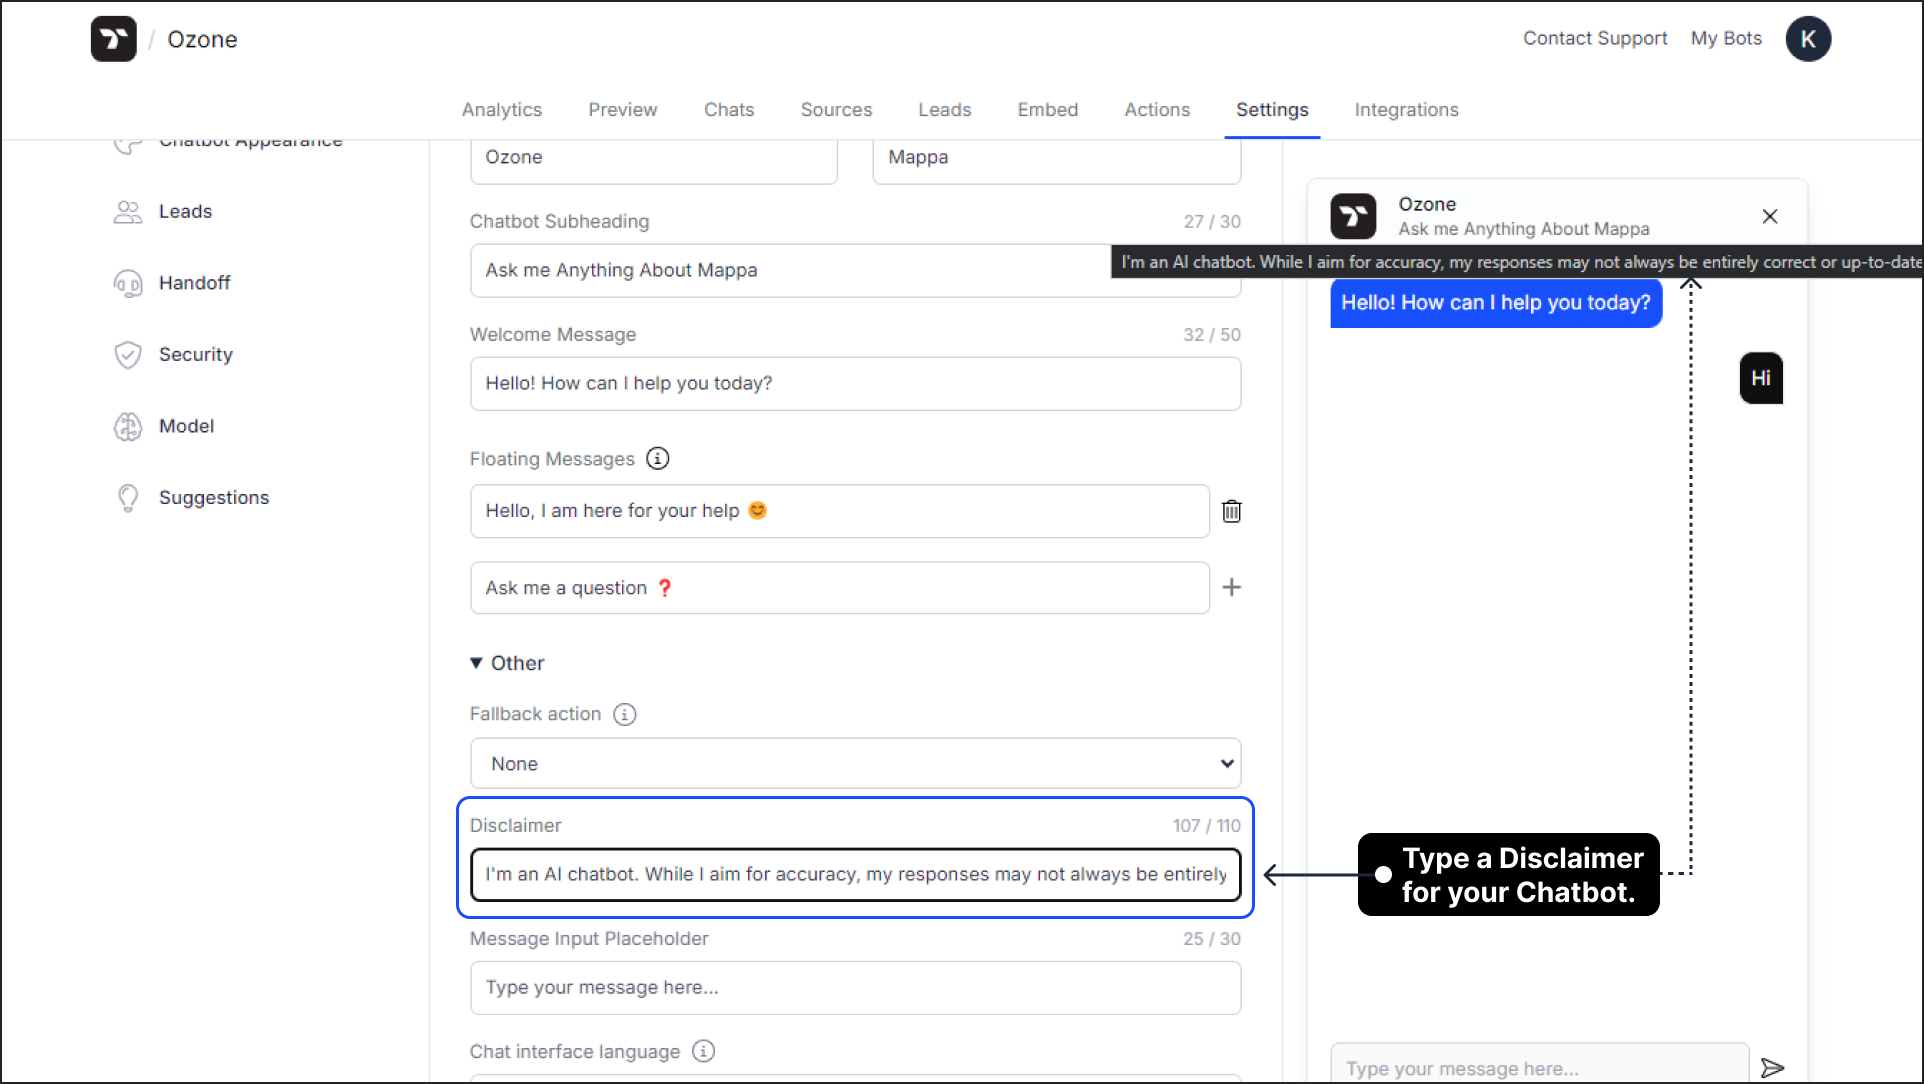
Disclaimer: A customizable message displayed to inform users about the chatbot's nature or limitations, such as “I'm an AI chatbot. While I strive for accuracy, my responses may not always be completely correct or up-to-date." This message is visible when the user hovers over the bot logo.
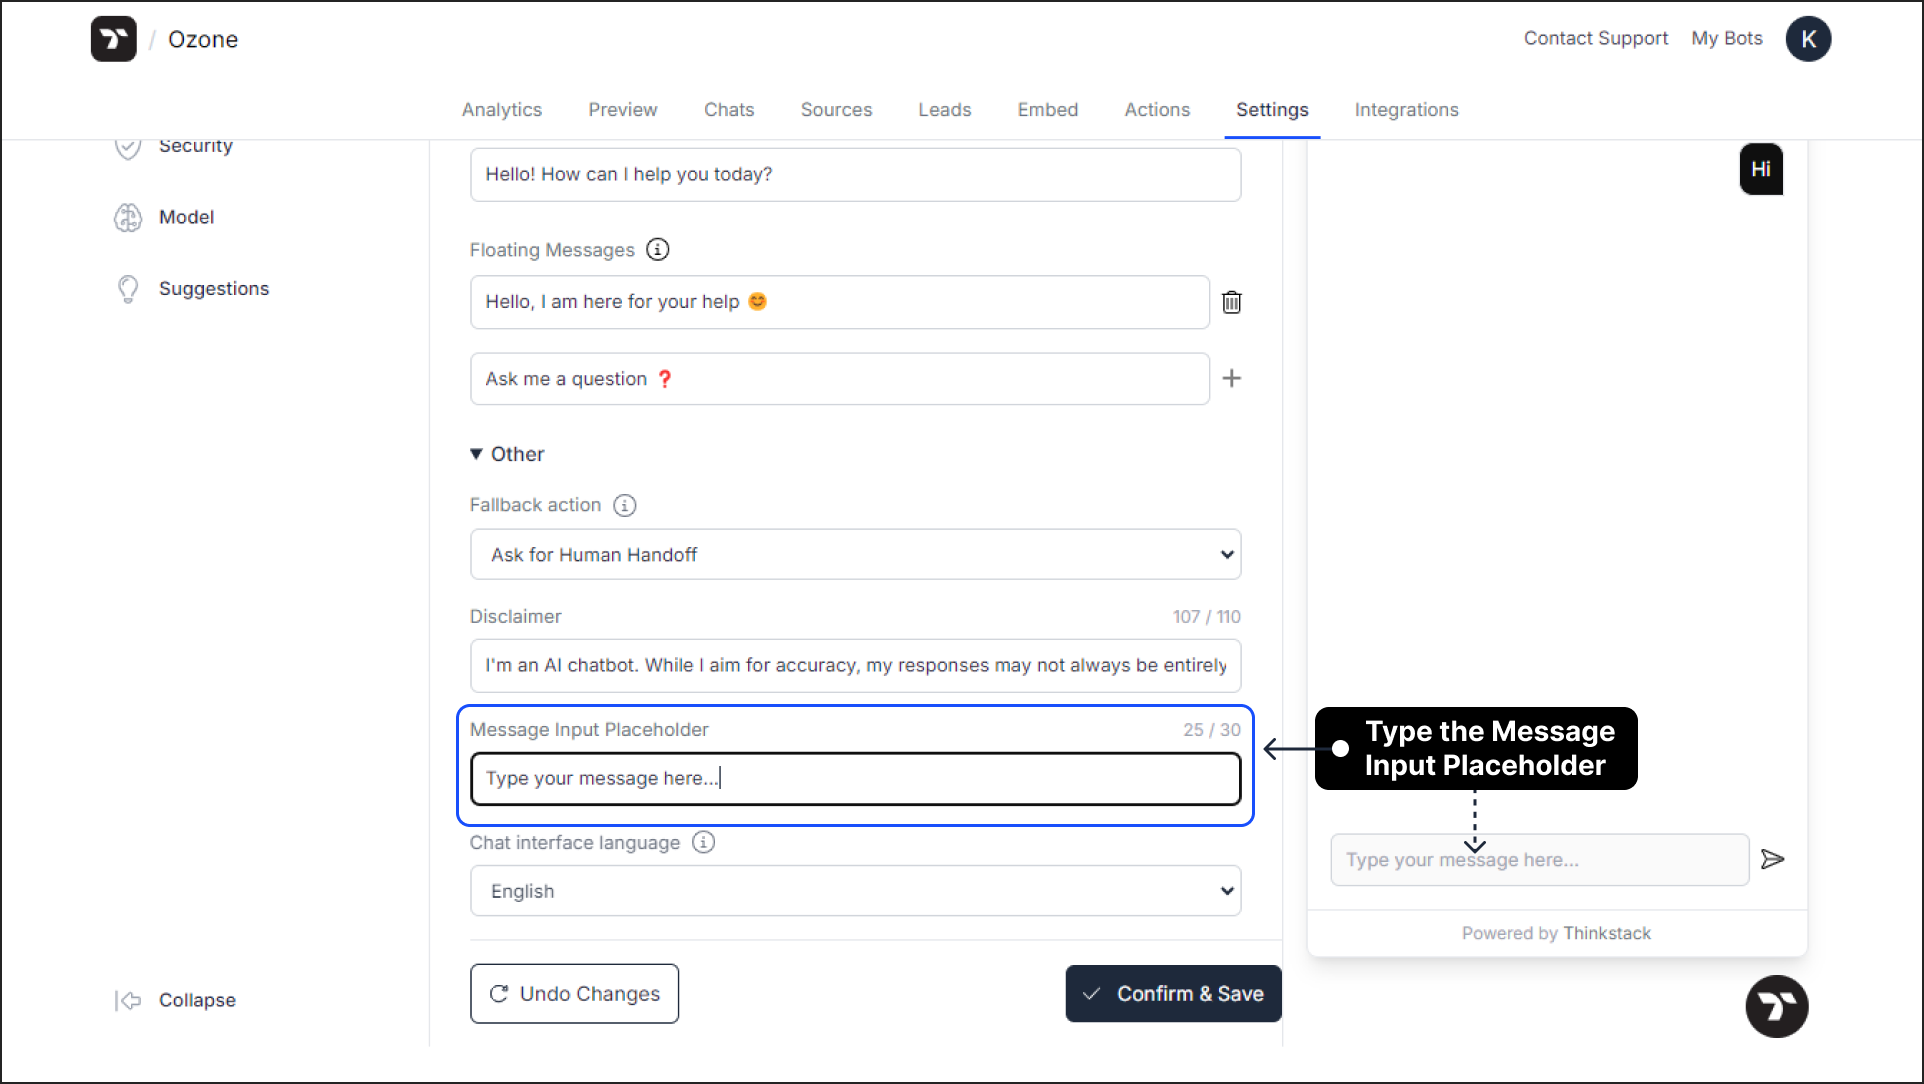
Message Input Placeholder: This placeholder text appears in the message input box, suggesting what users might type. Example: "Ask me your questions."
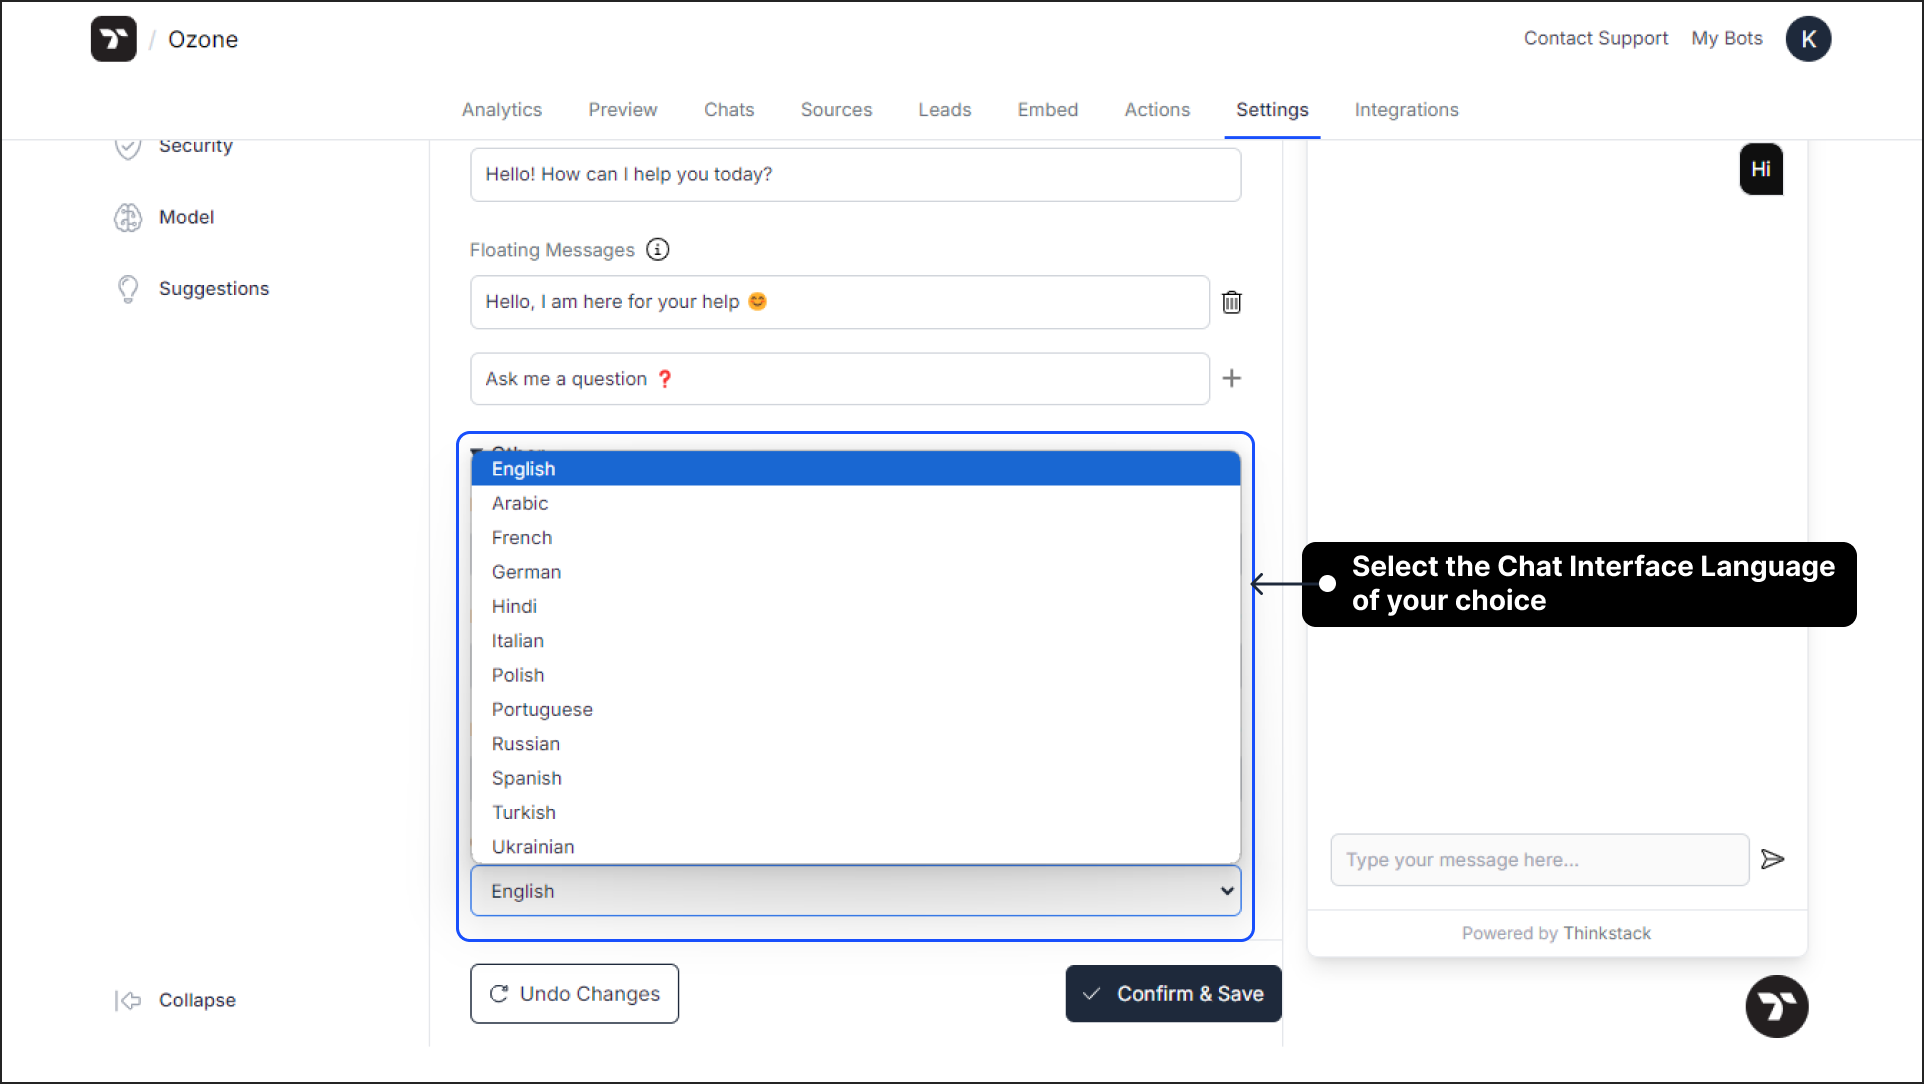
Chat Interface Language: Set the default language for the chat interface from the dropdown menu.
note
1) If you want the chat interface to support right-to-left (RTL) languages like Arabic, please select your desired RTL language from the dropdown menu. The chat UI will automatically adjust to a right-to-left layout, allowing you to engage users in their native script.
 Currently supported RTL languages include: Arabic, Aramaic, Azeri, Hebrew, and Urdu.
2) If you select a specific chat interface language, ensure that all the messages you configure, such as the welcome message, floating messages, message input placeholder etc. are also set up in the same language to maintain consistency.
Finalizing Your Settings#
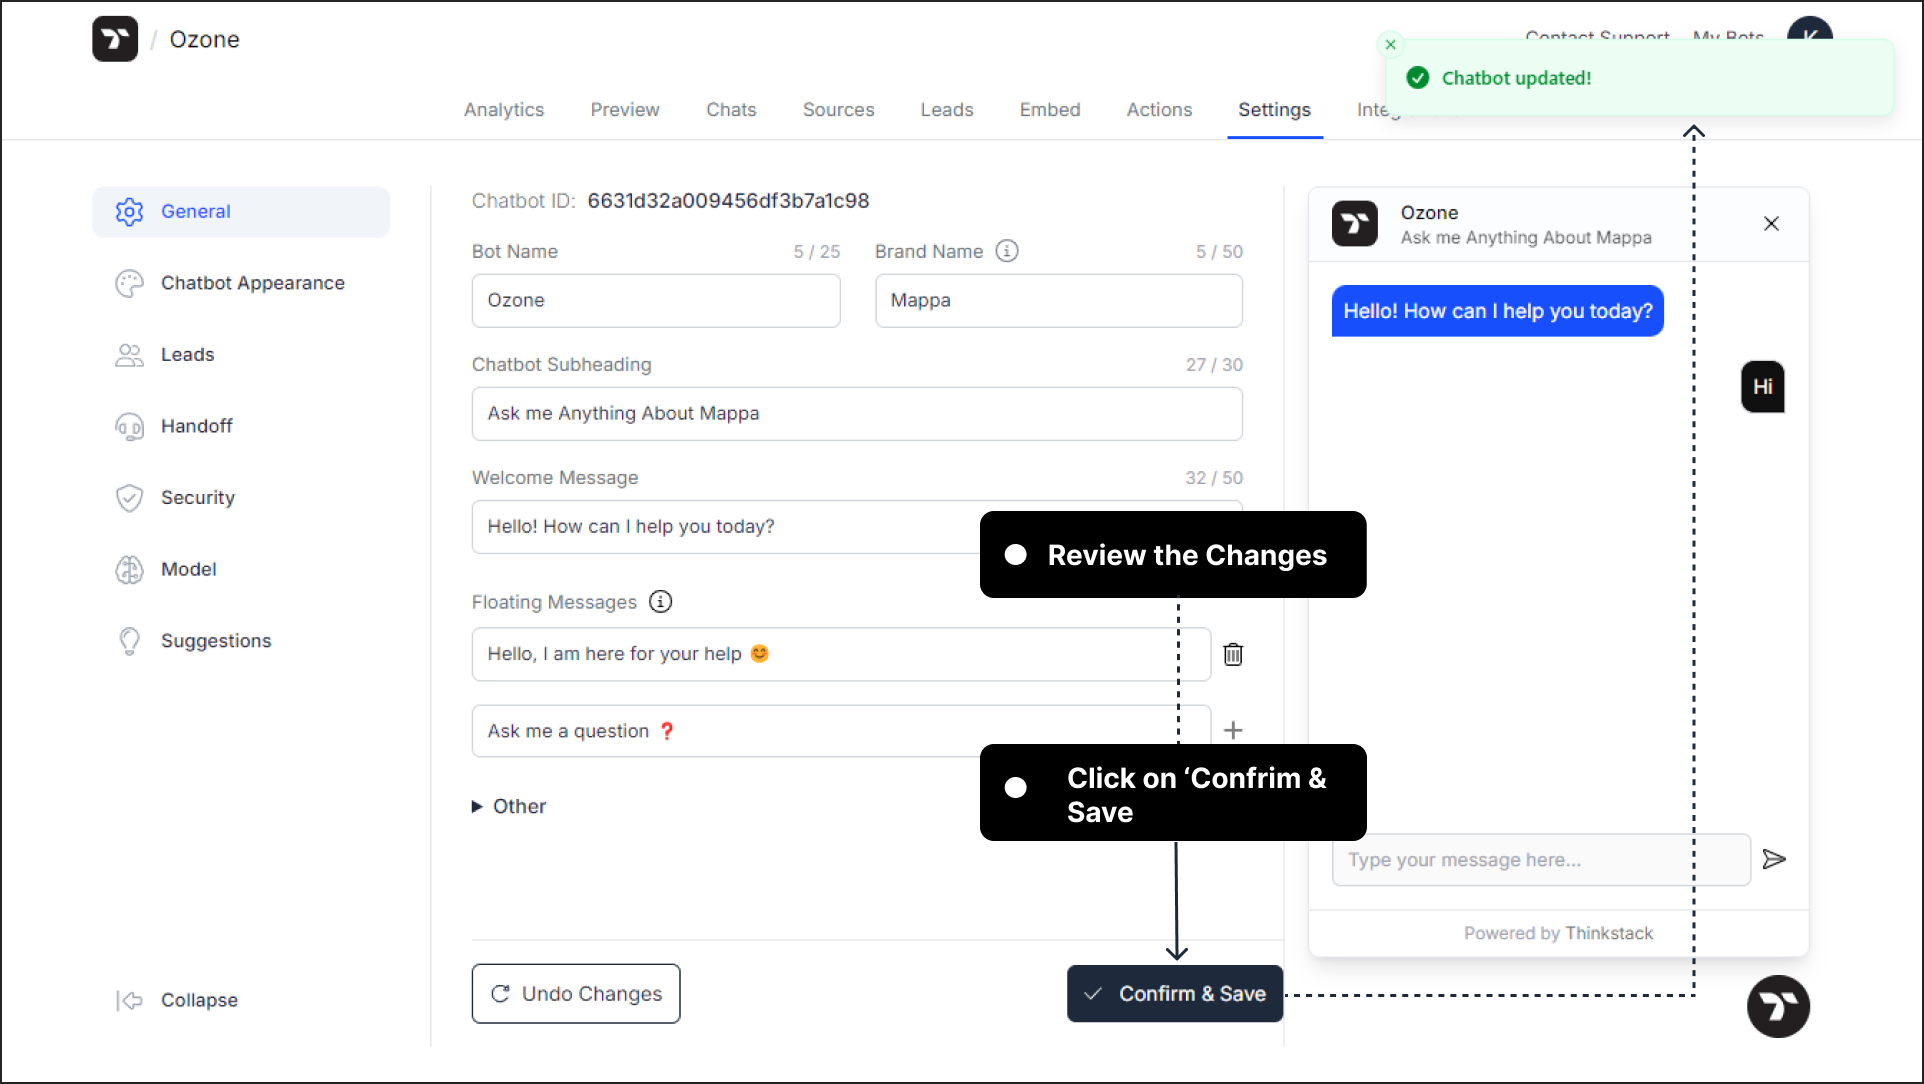
After configuring these options to suit your preferences, click Confirm & Save to apply your settings.
That's a wrap! 🎉 You're now ready to customize and fine-tune the General Settings to make your chatbot more engaging and aligned with your brand!