Embedding Your Chatbot in Webflow
info
This guide walks you through the steps to easily integrate the Thinkstack chatbot into your Webflow site and start engaging with your visitors in real time.
Copy the ChatBot Embed Script from Thinkstack Dashboard#
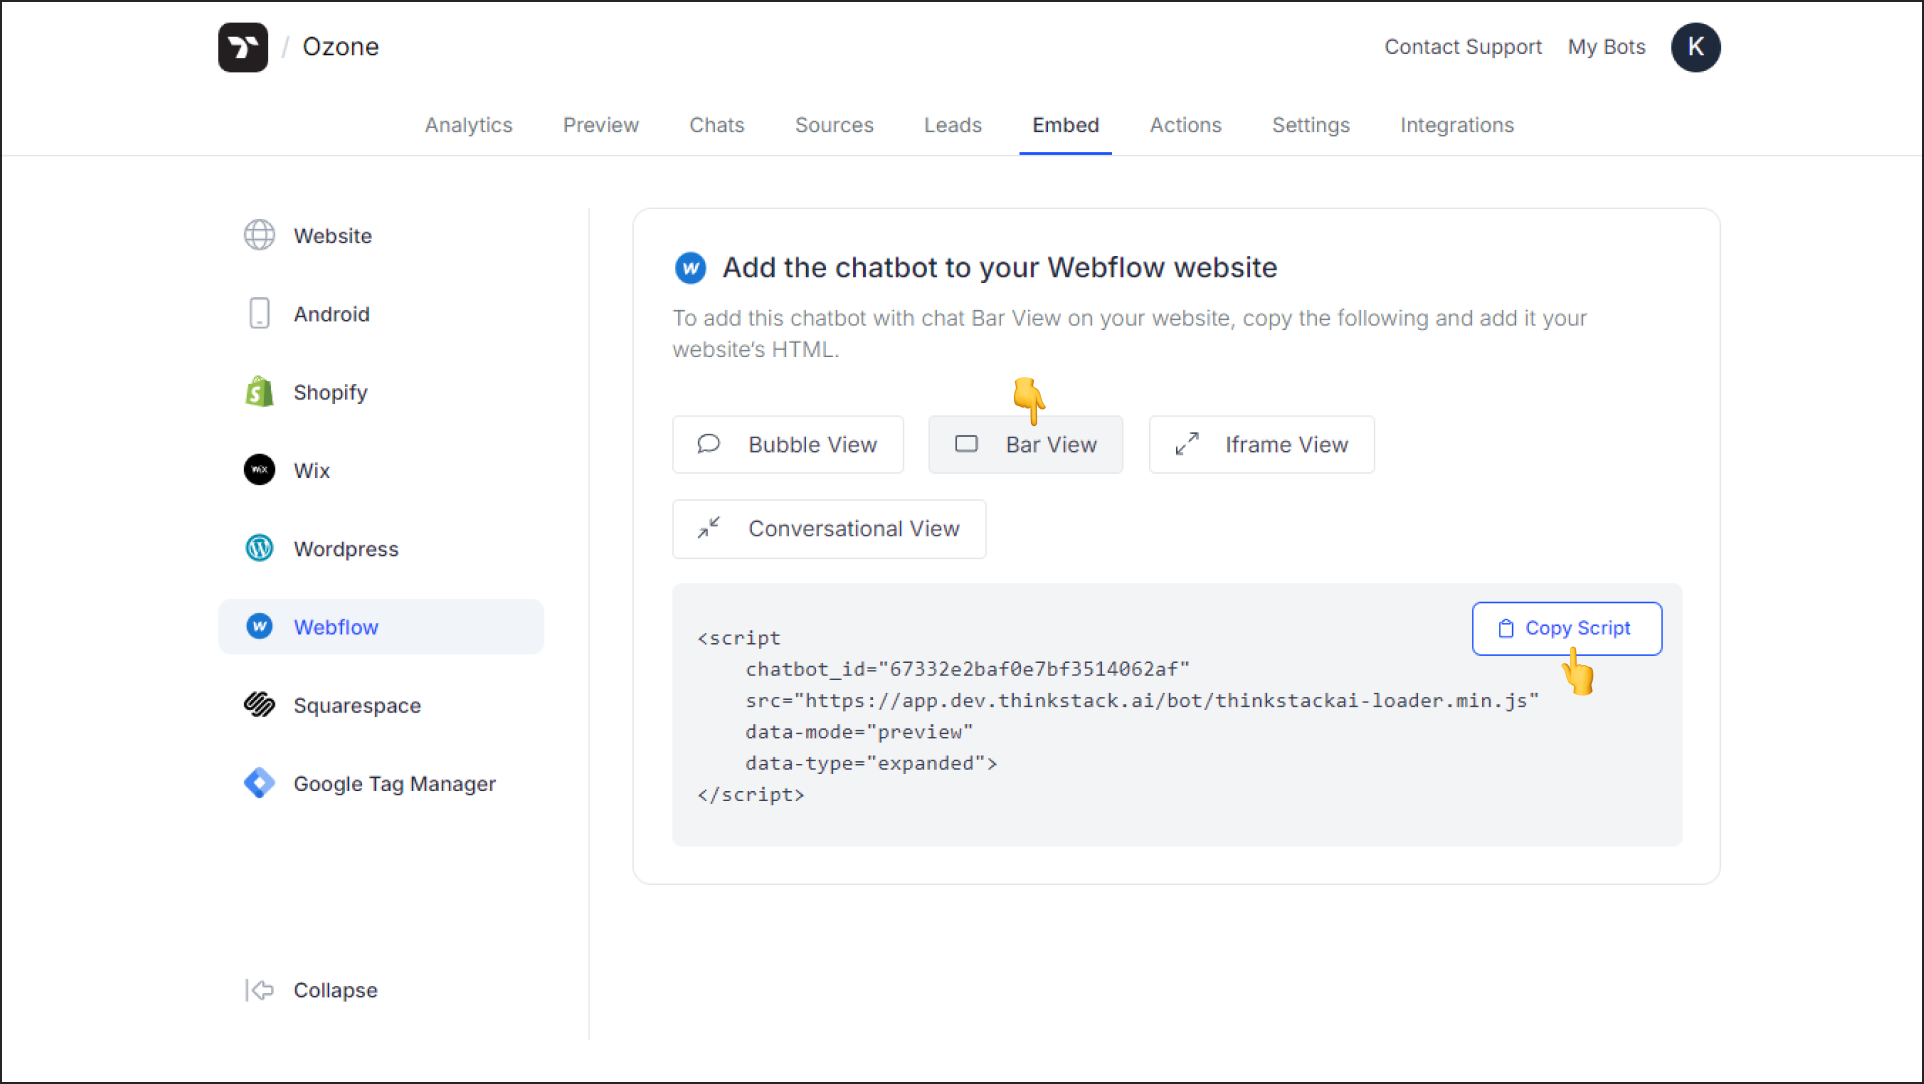
Log in to your Thinkstack account. Navigate to the Embed > Webflow > Select a Chatbot View and copy it's respective script/iframe code.
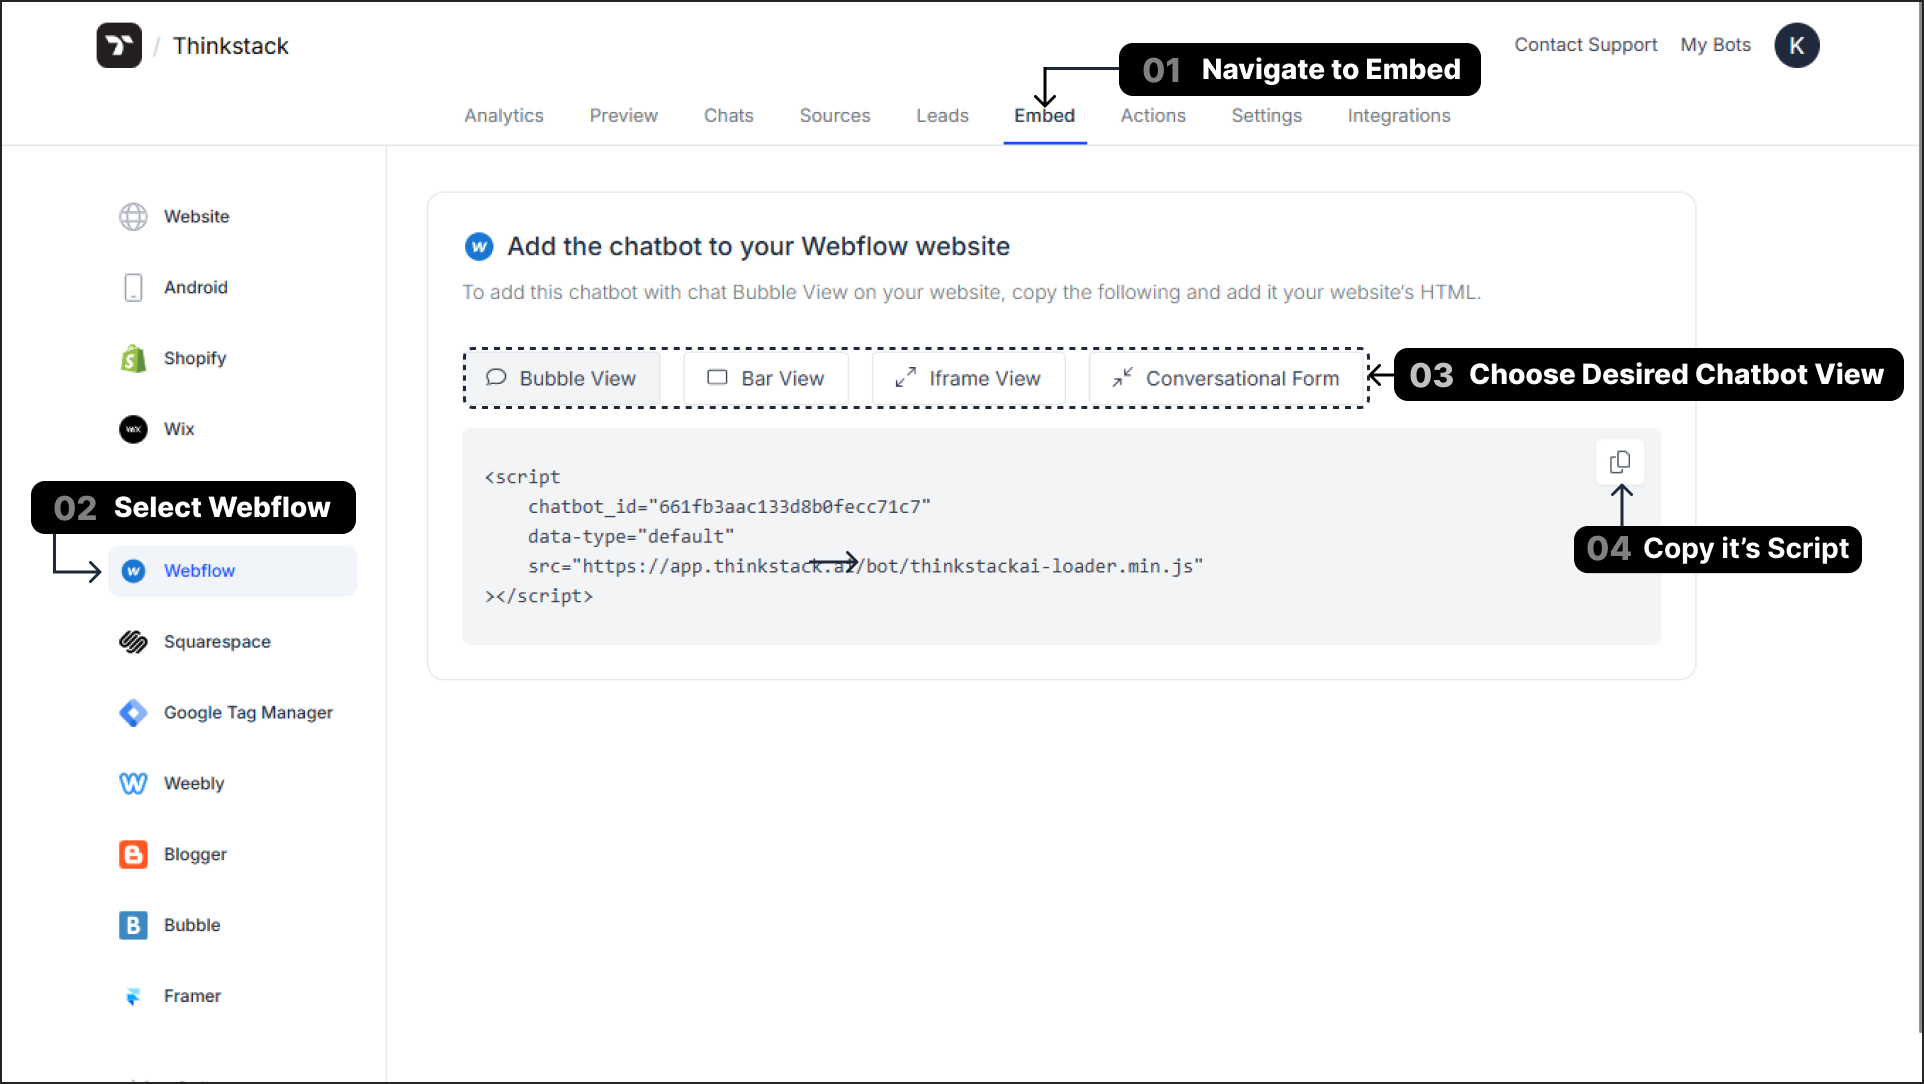
Add the Embed Script in Webflow#
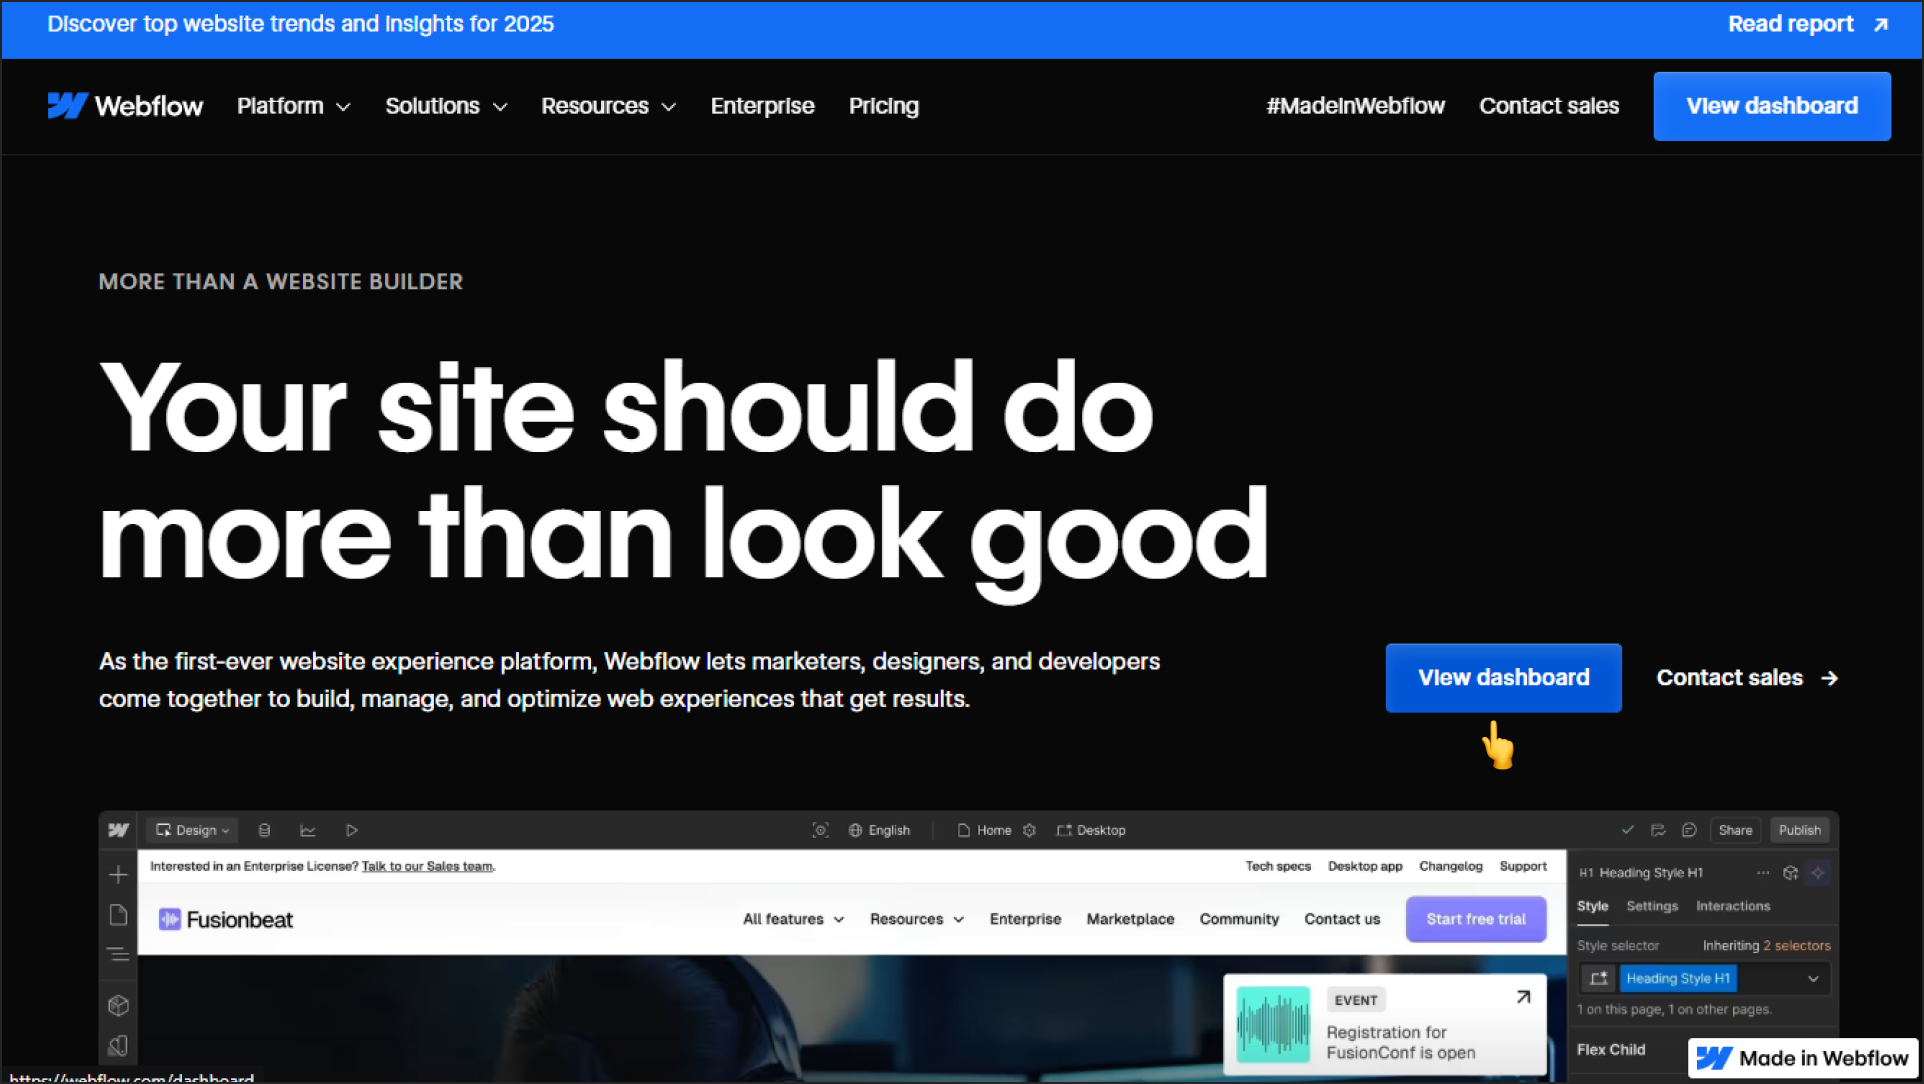
Log in to Webflow Admin: Log in to your Webflow account and Go to Webflow Dashboard.
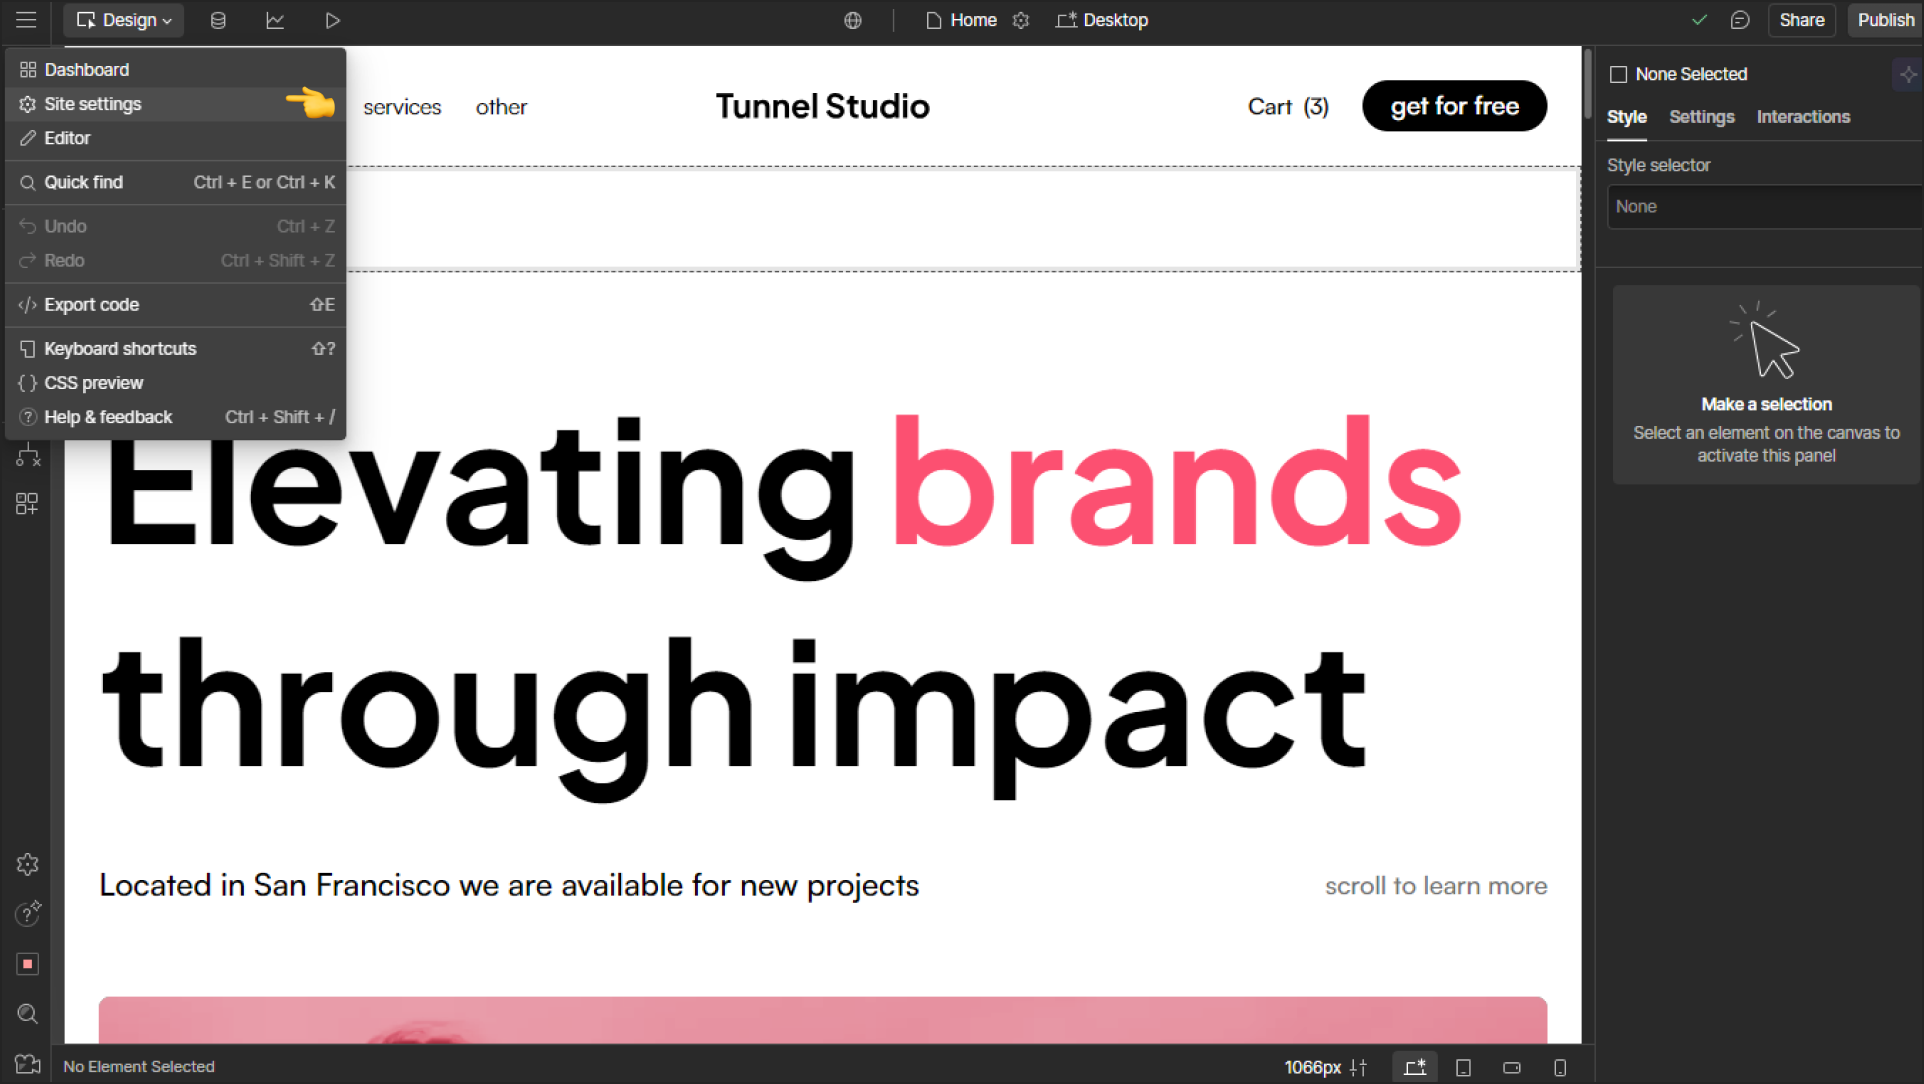
Access Site Settings: From your Webflow project dashboard, open the website you want to integrate with Thinkstack. Click on the "Site Settings" option.
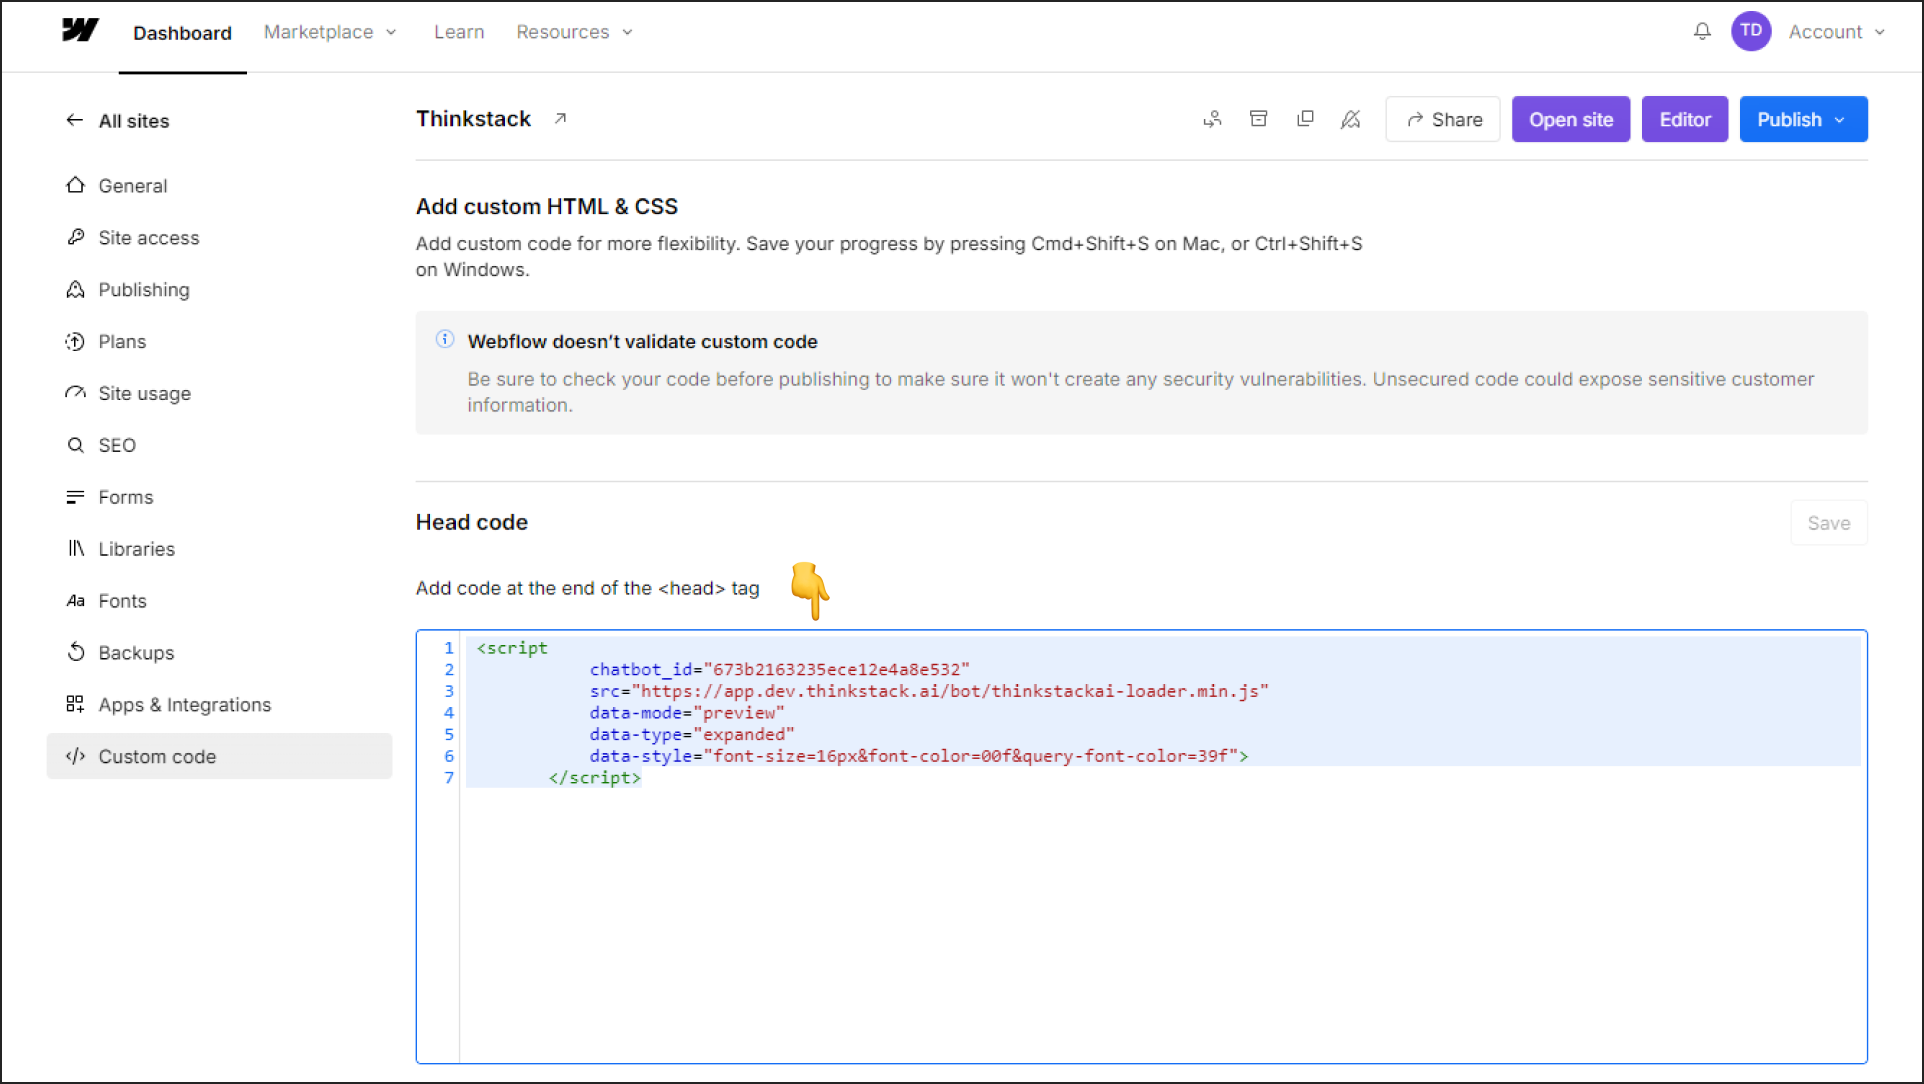
Open the Custom Code Section: Navigate to the Custom Code tab. Locate the Head Code Section.
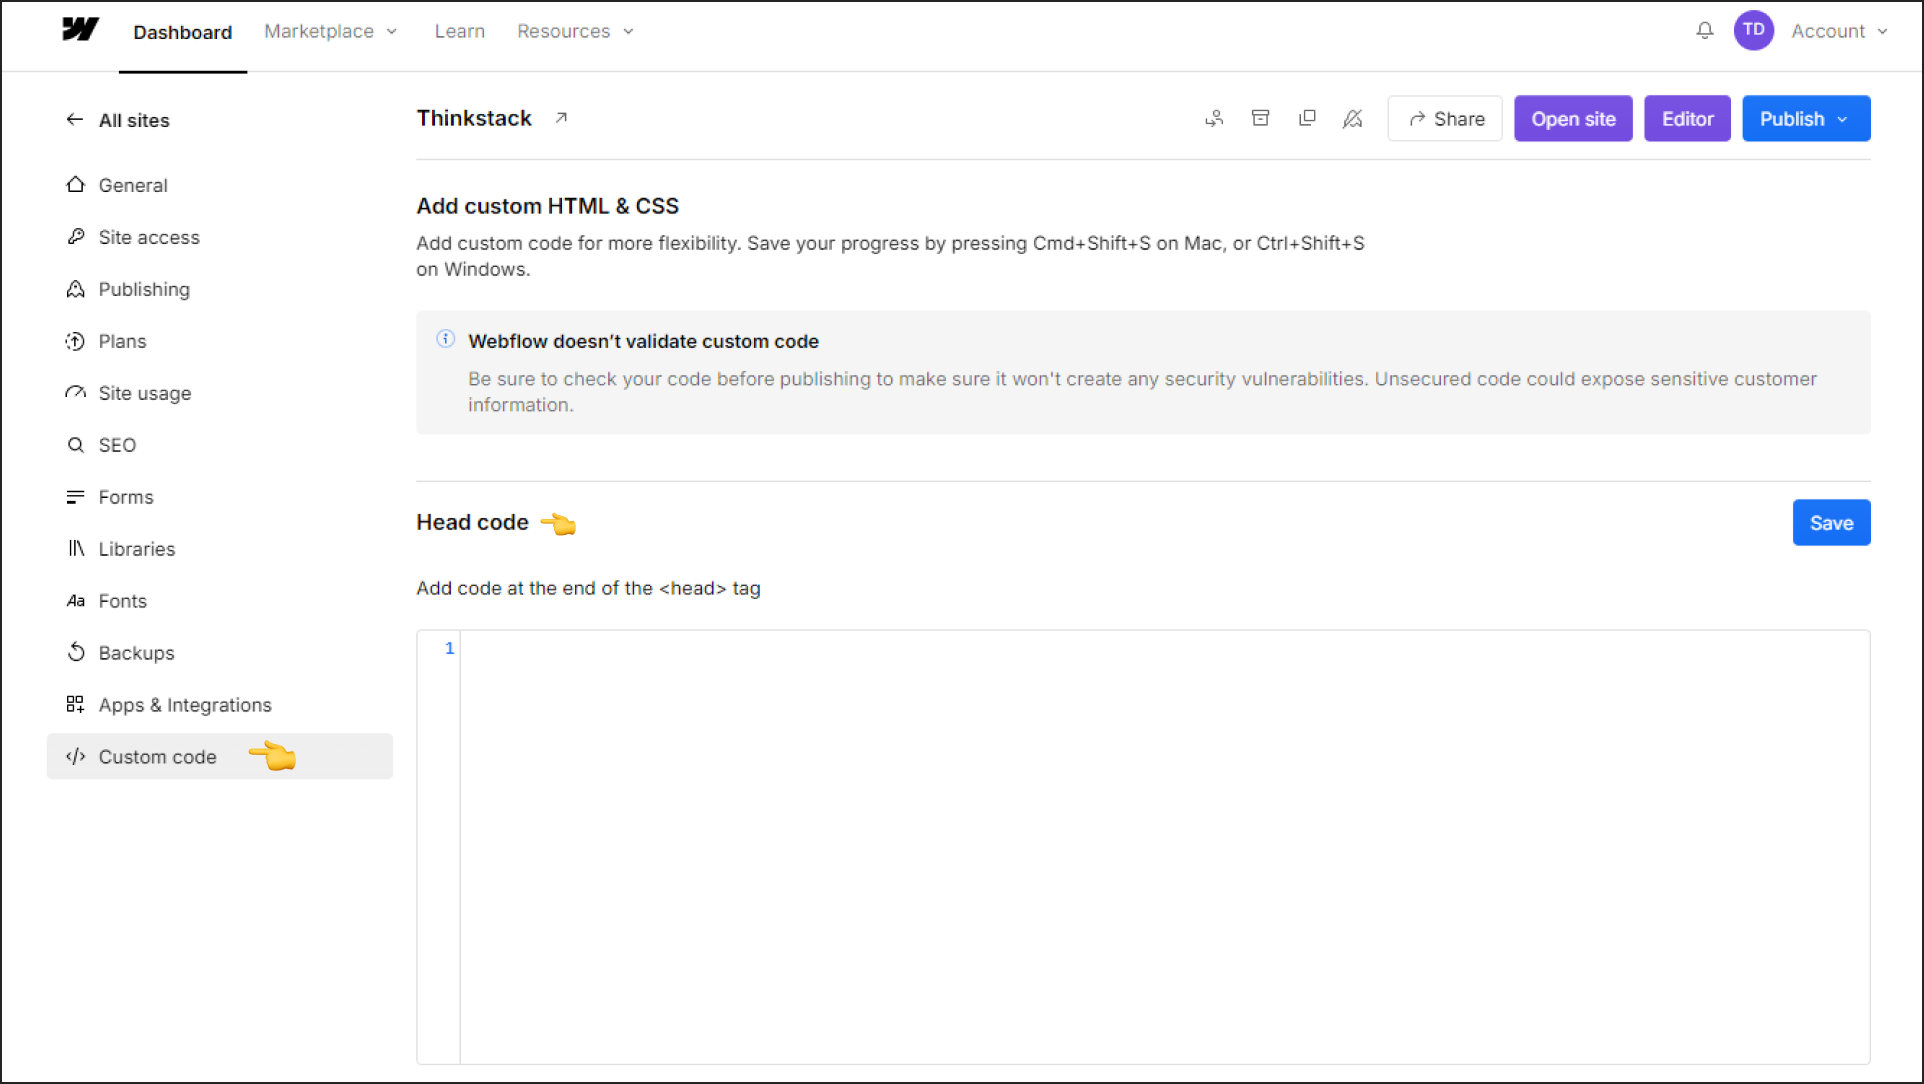
Paste the Thinkstack Embed Code:Paste the chat bubble script (copied earlier) into the Head Code Section.
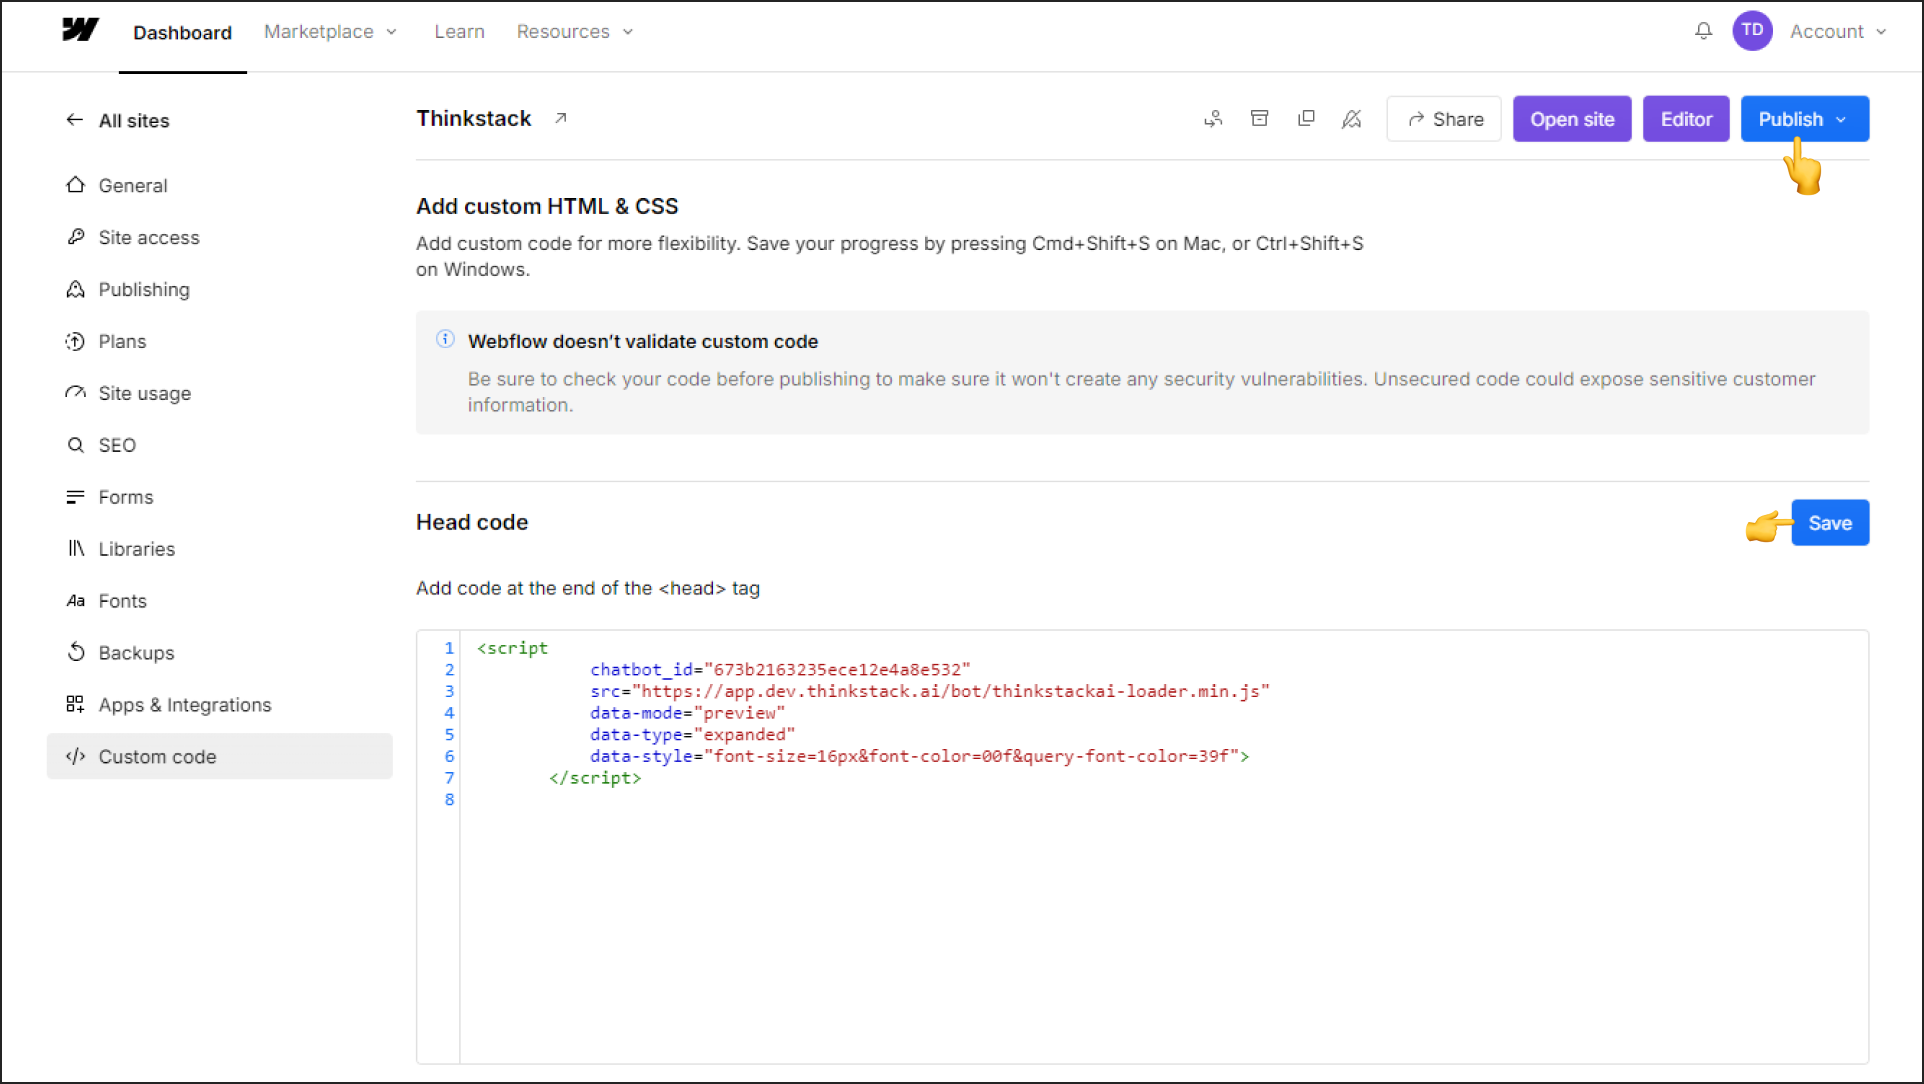
- Save and Publish: Click the “Save” button to apply your changes. Publish your Webflow site.
Verify the Integration#
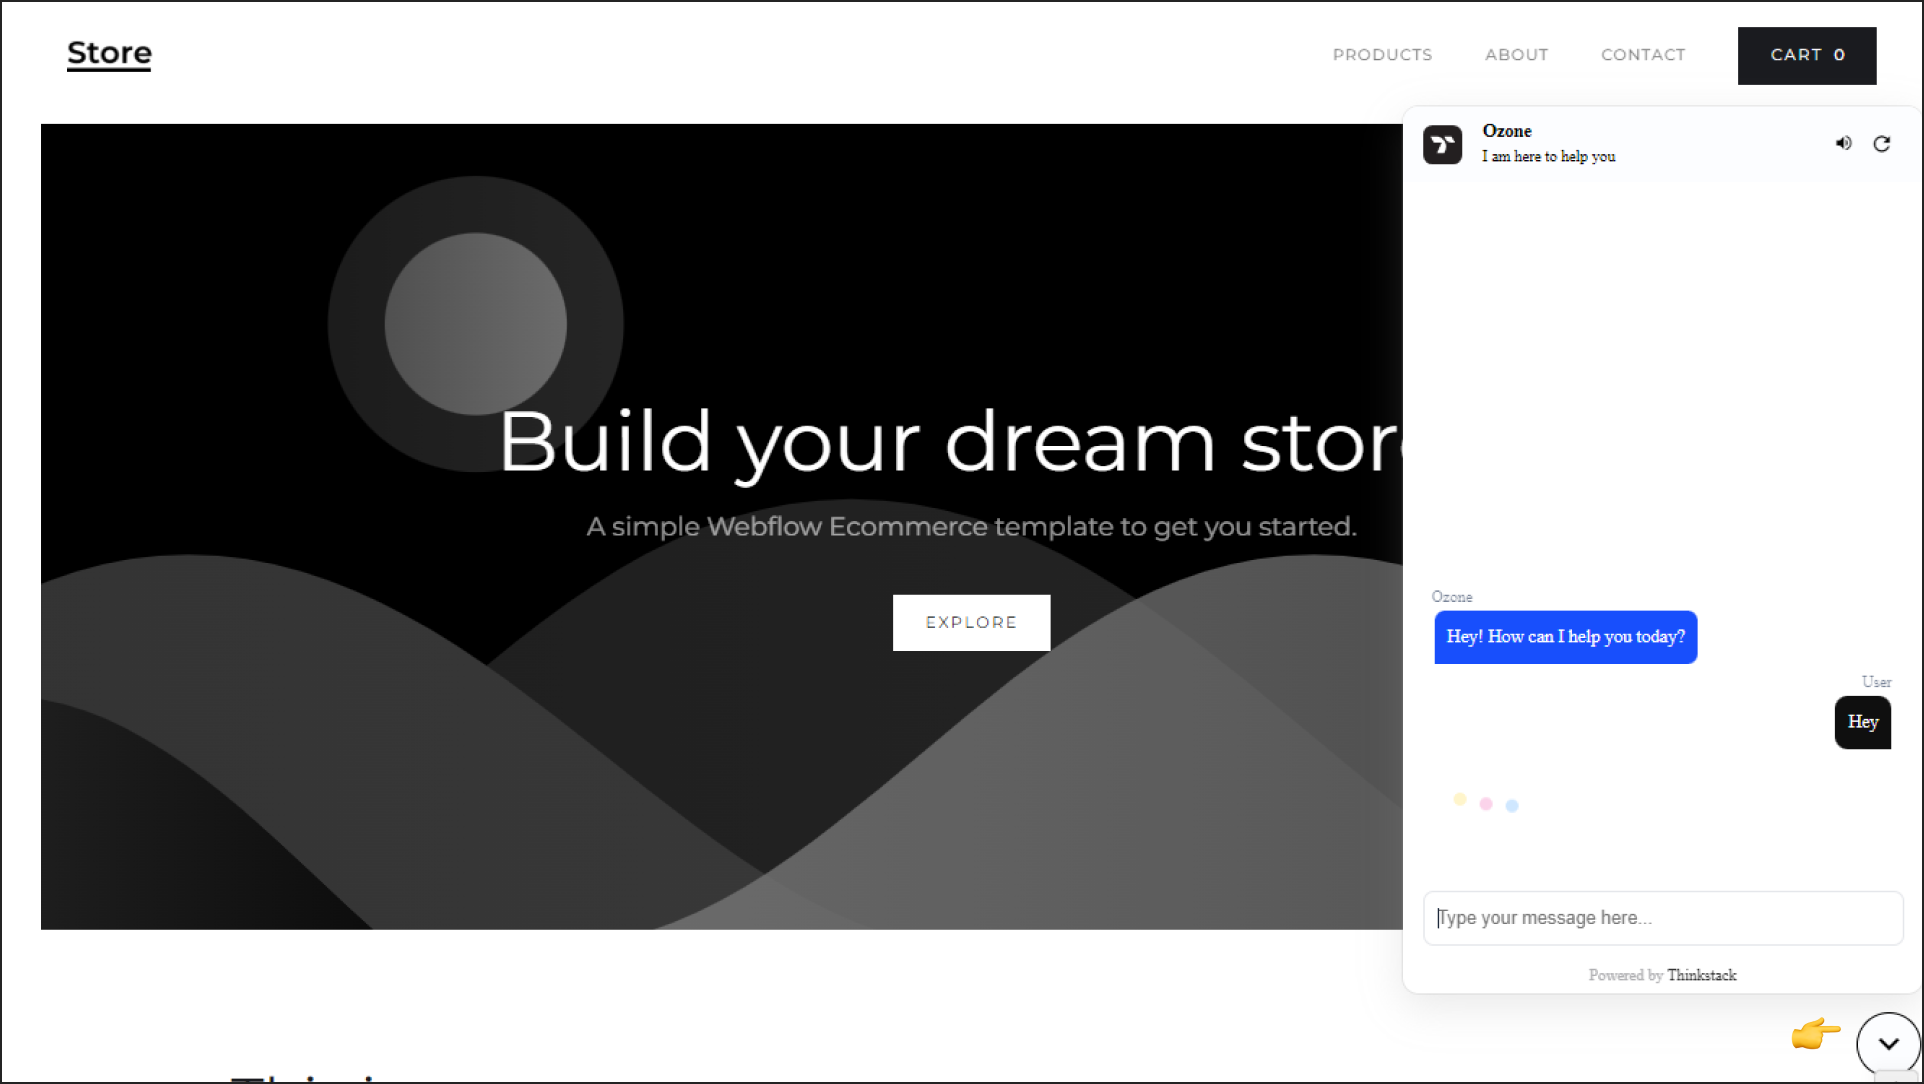
Visit your Webflow website and refresh the page.The Thinkstack chatbot bubble should now appear and function as intended.
Add a Bar-Type Chatbot#
If you prefer a bar-type chatbot, copy the specific embed script for the bar-style design from the Thinkstack dashboard.
Paste the embed script in the same Head Code Section as before. Save and publish your changes.
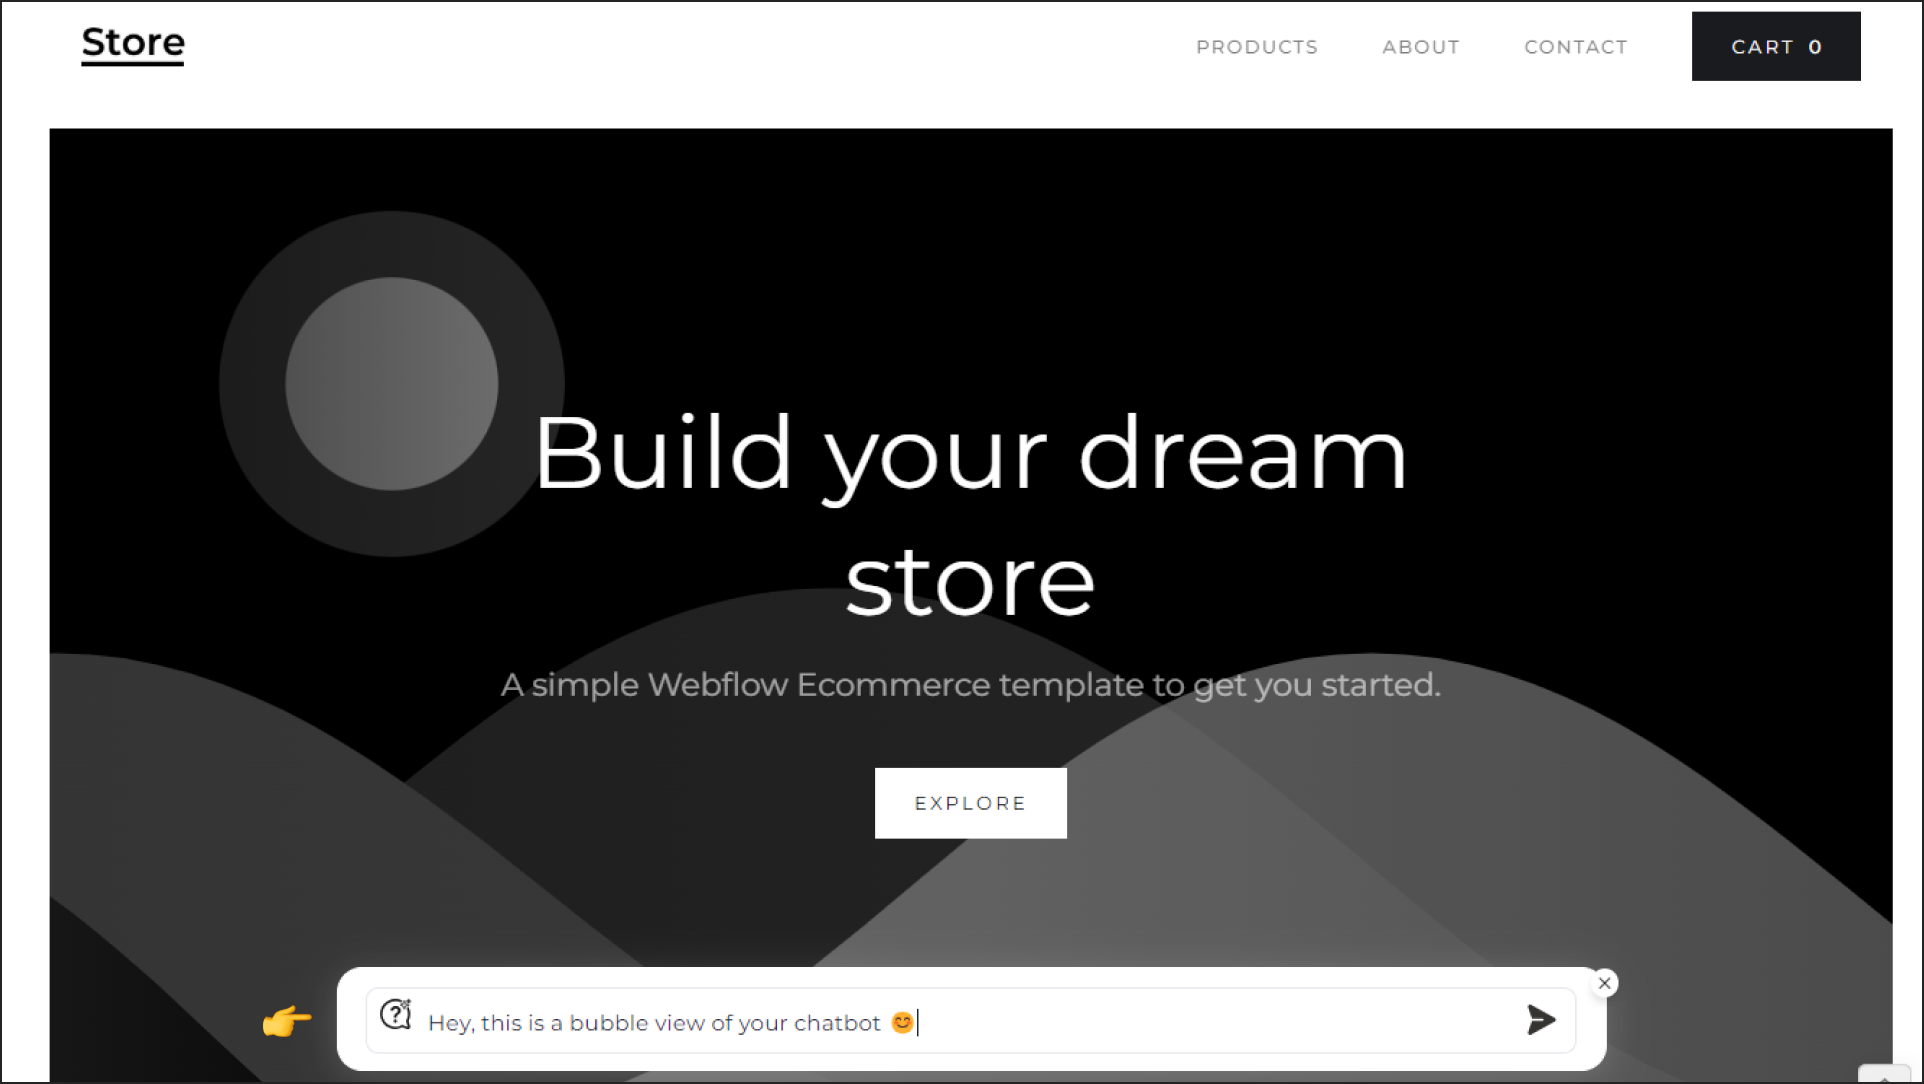
That's a wrap🎉. You’ve successfully integrated the Thinkstack chatbot on your Webflow website.